2023-05-09 03:44:21 +00:00
|
|
|
---
|
|
|
|
|
title: Debian Bookworm Install on a Samsung Chromebook Plus
|
|
|
|
|
x-toc-enable: true
|
|
|
|
|
...
|
|
|
|
|
|
|
|
|
|
System Configuration
|
|
|
|
|
====================
|
|
|
|
|
|
|
|
|
|
Hardware: Samsung Chromebook Plus XE513C24 (gru_kevin)
|
|
|
|
|
|
|
|
|
|
Libreboot: 2023-04-23
|
|
|
|
|
|
|
|
|
|
Operating System: Debian Bookworm RC2
|
|
|
|
|
|
|
|
|
|
[https://wiki.debian.org/Firmware](https://wiki.debian.org/Firmware)
|
|
|
|
|
|
|
|
|
|
Install Media Preparation
|
|
|
|
|
=========================
|
|
|
|
|
|
|
|
|
|
Follow the Debian installation instructions in the link below:
|
|
|
|
|
|
|
|
|
|
[https://www.debian.org/devel/debian-installer/](https://www.debian.org/devel/debian-installer/)
|
|
|
|
|
|
|
|
|
|
At the time of this install Debian Bookworm RC2 was recommended on the download
|
|
|
|
|
page and I selected the DVD image to have all the packages available when
|
|
|
|
|
offline (3.7 gigabyte iso). See the notes below about alternately using the
|
|
|
|
|
netinst version.
|
|
|
|
|
|
|
|
|
|
[https://cdimage.debian.org/cdimage/bookworm_di_rc2/arm64/iso-dvd/](https://cdimage.debian.org/cdimage/bookworm_di_rc2/arm64/iso-dvd/)
|
|
|
|
|
|
|
|
|
|
Write the iso file to a micro sdcard. Replace "sdcard_device" below
|
|
|
|
|
with the appropriate device path on your system.
|
|
|
|
|
```
|
|
|
|
|
# dd if=debian-bookworm-DI-rc2-arm64-DVD-1.img of=/dev/sdcard_device bs=1M status=progress; sync
|
|
|
|
|
```
|
|
|
|
|
|
|
|
|
|
Installation
|
|
|
|
|
============
|
|
|
|
|
|
|
|
|
|
1. Insert the micro sdcard into the slot on the Chromebook.
|
|
|
|
|
2. Power on the Chromebook.
|
|
|
|
|
|
|
|
|
|
The system automatically found an EFI image (efi/boot/bootaa64.efi), but after
|
|
|
|
|
loading it the "Synchronous Abort" handler activated and the chromeboot would
|
|
|
|
|
reboot.
|
|
|
|
|
|
|
|
|
|
Since libreboot/uboot has a 2 second pause at the beginning to stop autoboot if
|
|
|
|
|
desired I paused autoboot and it dropped me to the uboot command line. Per the
|
2023-05-15 02:31:42 +00:00
|
|
|
suggestion from alpernebbi on libreboot IRC I looked for the grub EFI image on
|
|
|
|
|
the micro sdcard and started that up instead. Below are the series of uboot
|
|
|
|
|
commands I used to understand the media and partition structure. Device 1 is
|
|
|
|
|
the micro sdcard slot, and in this case the efi partition is 2.
|
2023-05-09 03:44:21 +00:00
|
|
|
|
|
|
|
|
```
|
|
|
|
|
Hit any key to stop autoboot: 0
|
|
|
|
|
=> mmc list
|
|
|
|
|
mmc@fe320000: 1
|
|
|
|
|
mmc@fe330000: 0
|
|
|
|
|
=> mmc dev 1
|
|
|
|
|
switch to partitions #0, OK
|
|
|
|
|
mmc1 is current device
|
|
|
|
|
=> mmc part
|
|
|
|
|
Partition Map for MMC device 1 -- Partition Type: DOS
|
|
|
|
|
Part Start Sector Num Sectors UUID Type
|
|
|
|
|
1 0 7766016 00000000-01 83
|
|
|
|
|
2 7766016 15168 00000000-02 ef Boot
|
|
|
|
|
=> ls mmc 1:2
|
|
|
|
|
efi/
|
|
|
|
|
168 ubootefi.var
|
|
|
|
|
1 file(s), 1 dir(s)
|
|
|
|
|
=> ls mmc 1:2 efi/boot
|
|
|
|
|
./
|
|
|
|
|
../
|
|
|
|
|
872448 bootaa64.efi
|
|
|
|
|
4289984 grubaa64.efi
|
|
|
|
|
2 file(s), 2 dir(s)
|
|
|
|
|
=>
|
|
|
|
|
```
|
|
|
|
|
|
|
|
|
|
The following two commands are the ones that were needed to boot the operating
|
|
|
|
|
system.
|
|
|
|
|
|
|
|
|
|
```
|
2023-05-15 02:31:42 +00:00
|
|
|
=> load mmc 1:2 $loadaddr efi/boot/grubaa64.efi
|
2023-05-09 03:44:21 +00:00
|
|
|
4289984 bytes read in 187 ms (21.9 MiB/s)
|
|
|
|
|
=> bootefi $loadaddr
|
|
|
|
|
```
|
|
|
|
|
|
|
|
|
|
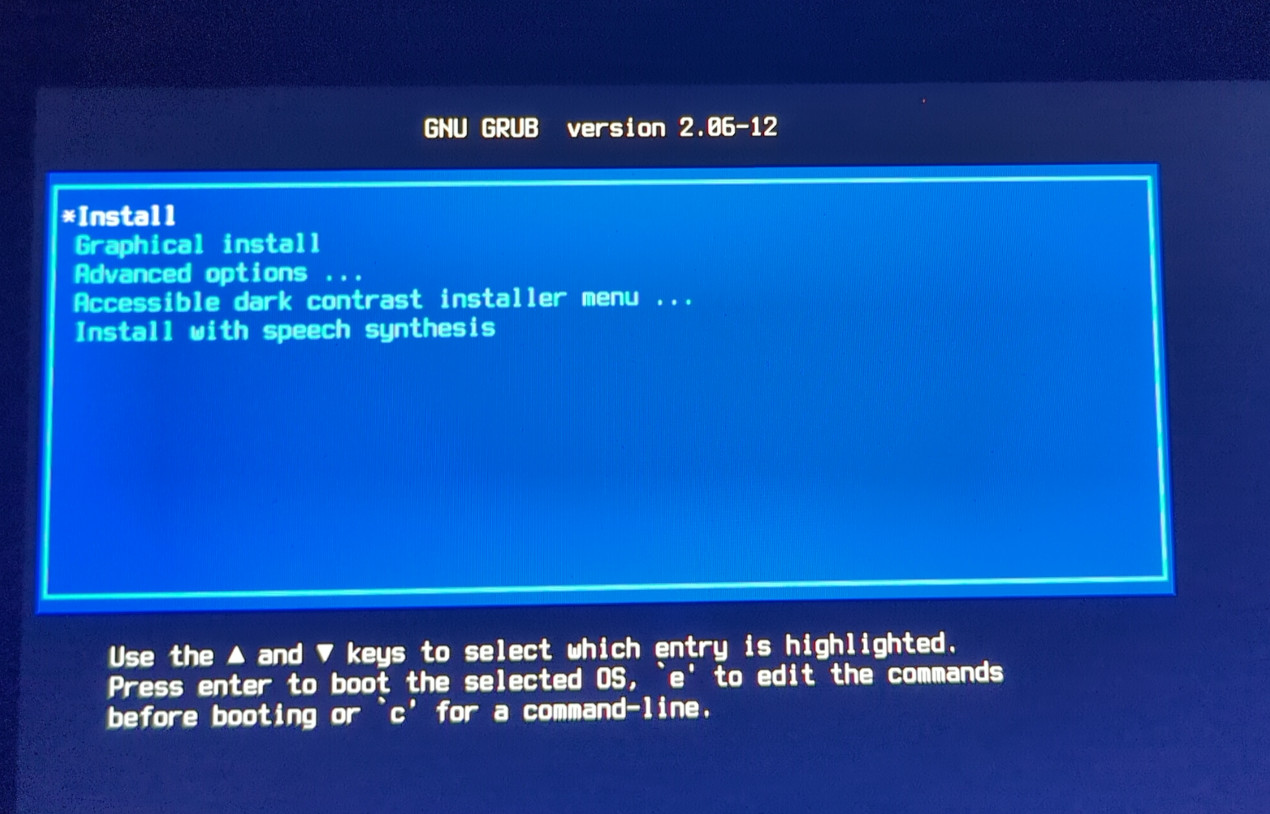
The grub text menu popped up at this point. See the screen shot below. I
|
|
|
|
|
found the first option "Install" provided the easiest install experience as
|
|
|
|
|
everything was in text mode and easy to read. The "Graphical install" worked
|
|
|
|
|
also, however the screen resolution was so high that all the text and buttons
|
|
|
|
|
were quite small on the display and harder to read.
|
|
|
|
|
|
|
|
|
|
|
|
|
|
|
|
|
|
|
|
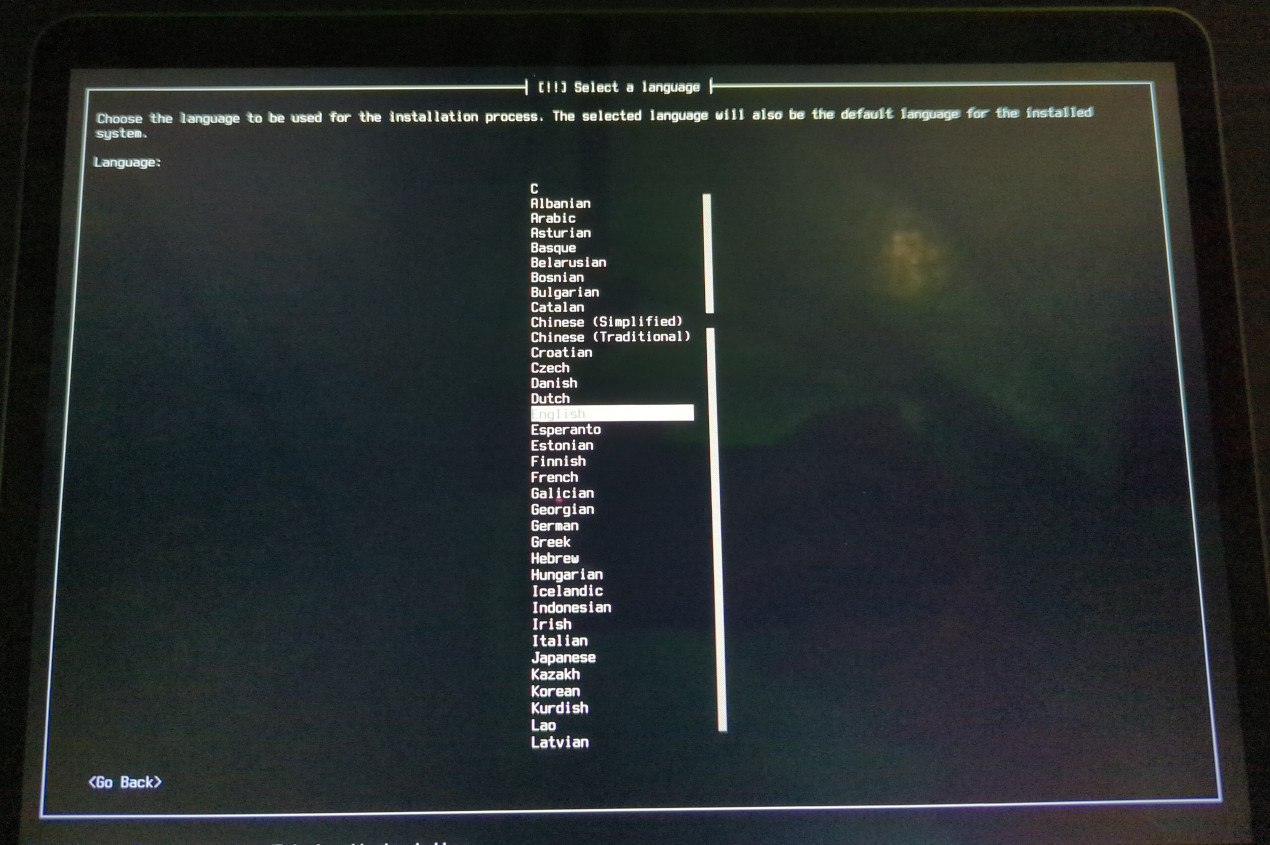
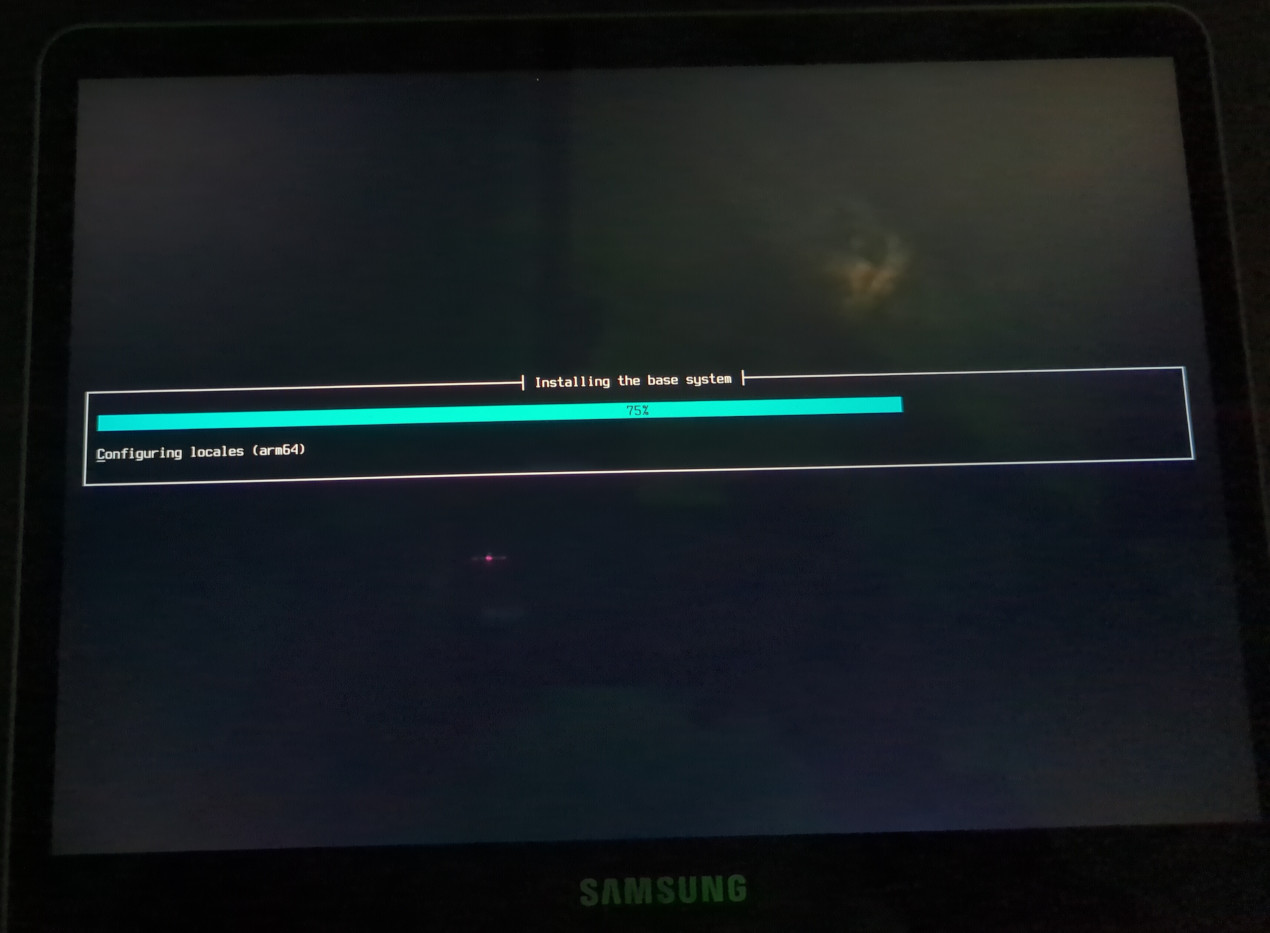
At this point the installation proceeded normally.
|
|
|
|
|
|
|
|
|
|
|
|
|
|
|
|
|
|
|
|
|
2023-05-15 02:31:42 +00:00
|
|
|
Some users have mentioned experiencing corruption of the first partition after
|
|
|
|
|
installing Debian Bookworm on a Libreboot / uboot xe513c24 system. This is
|
|
|
|
|
possibly due to the experimental nature of the libreboot / uboot system at this
|
|
|
|
|
time.
|
2023-05-09 03:44:21 +00:00
|
|
|
|
2023-05-15 02:31:42 +00:00
|
|
|
One potential workaround is to leave some unused space at the beginning of the
|
|
|
|
|
drive before the first partition. This can be done by manually partitioning
|
|
|
|
|
during install and configuring the first partition to start 100MB or so from
|
|
|
|
|
the start of the drive.
|
|
|
|
|
|
|
|
|
|
Also, per instructions from alpernebbi on IRC, when you arrive at the stage
|
|
|
|
|
where the grub bootloader is installed take special note to select yes to the
|
|
|
|
|
option to "Force installation to removable media path", and also say no to the
|
|
|
|
|
option to "Update NVRAM variables". If one selects yes on updating NVRAM
|
|
|
|
|
variables this can also lead to partition corruption in some instances.
|
|
|
|
|
|
|
|
|
|
Lastly when rebooting into your new system you will likely experience the same
|
2023-05-09 03:44:21 +00:00
|
|
|
synchronous abort issue mentioned above. You can use the same method to pause
|
|
|
|
|
the uboot script and drop to the uboot prompt to load and boot the grub efi
|
2023-05-15 02:31:42 +00:00
|
|
|
image. Depending on how you partitioned the internal emmc drive during
|
|
|
|
|
install, the partition number may vary, but below are the applicable commands
|
|
|
|
|
on my system. The internal device is 0, and the efi partition was 1.
|
|
|
|
|
|
|
|
|
|
```
|
|
|
|
|
=> load mmc 0:1 $loadaddr efi/boot/grubaa64.efi
|
|
|
|
|
4289984 bytes read in 187 ms (21.9 MiB/s)
|
|
|
|
|
=> bootefi $loadaddr
|
|
|
|
|
```
|
|
|
|
|
|
|
|
|
|
Once booted into your Debian Bookworm system you can open a shell as
|
|
|
|
|
root and go to the boot efi path to copy the grubaa64.efi file and overwrite it
|
|
|
|
|
onto the bootaa64.efi file.
|
|
|
|
|
|
|
|
|
|
```
|
|
|
|
|
# cd /boot/efi/EFI/BOOT
|
|
|
|
|
# mv BOOTAA64.EFI BOOTAA64.EFI.bak
|
|
|
|
|
# cp grubaa64.efi bootaa64.efi
|
|
|
|
|
```
|
|
|
|
|
|
|
|
|
|
By doing this the system will boot from uboot normally without needing to drop
|
|
|
|
|
to the uboot prompt. This will only last until the next time debian updates
|
|
|
|
|
grub though, so you may need to repeat this as a workaround for now.
|
2023-05-09 03:44:21 +00:00
|
|
|
|
|
|
|
|
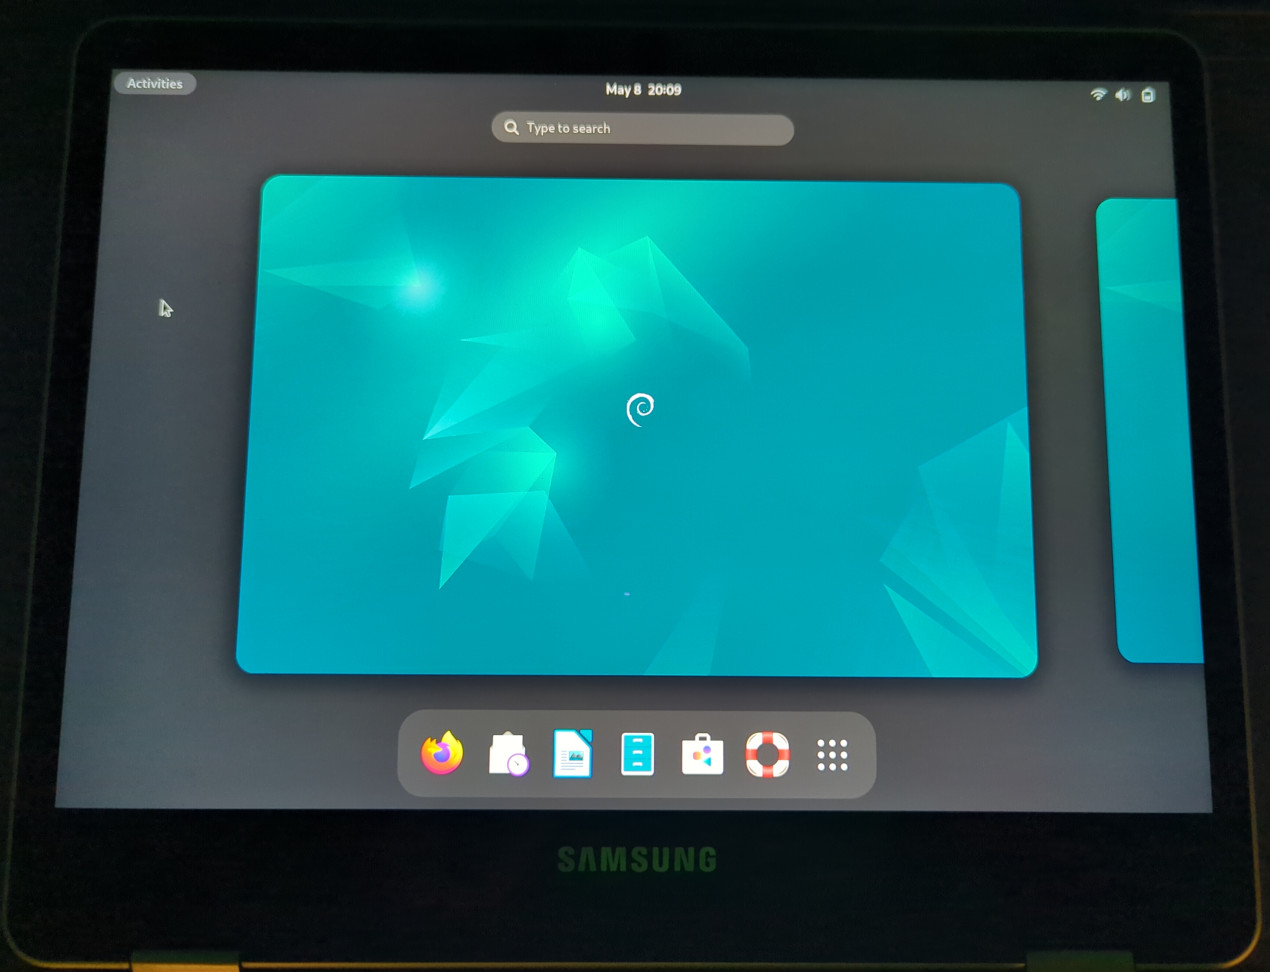
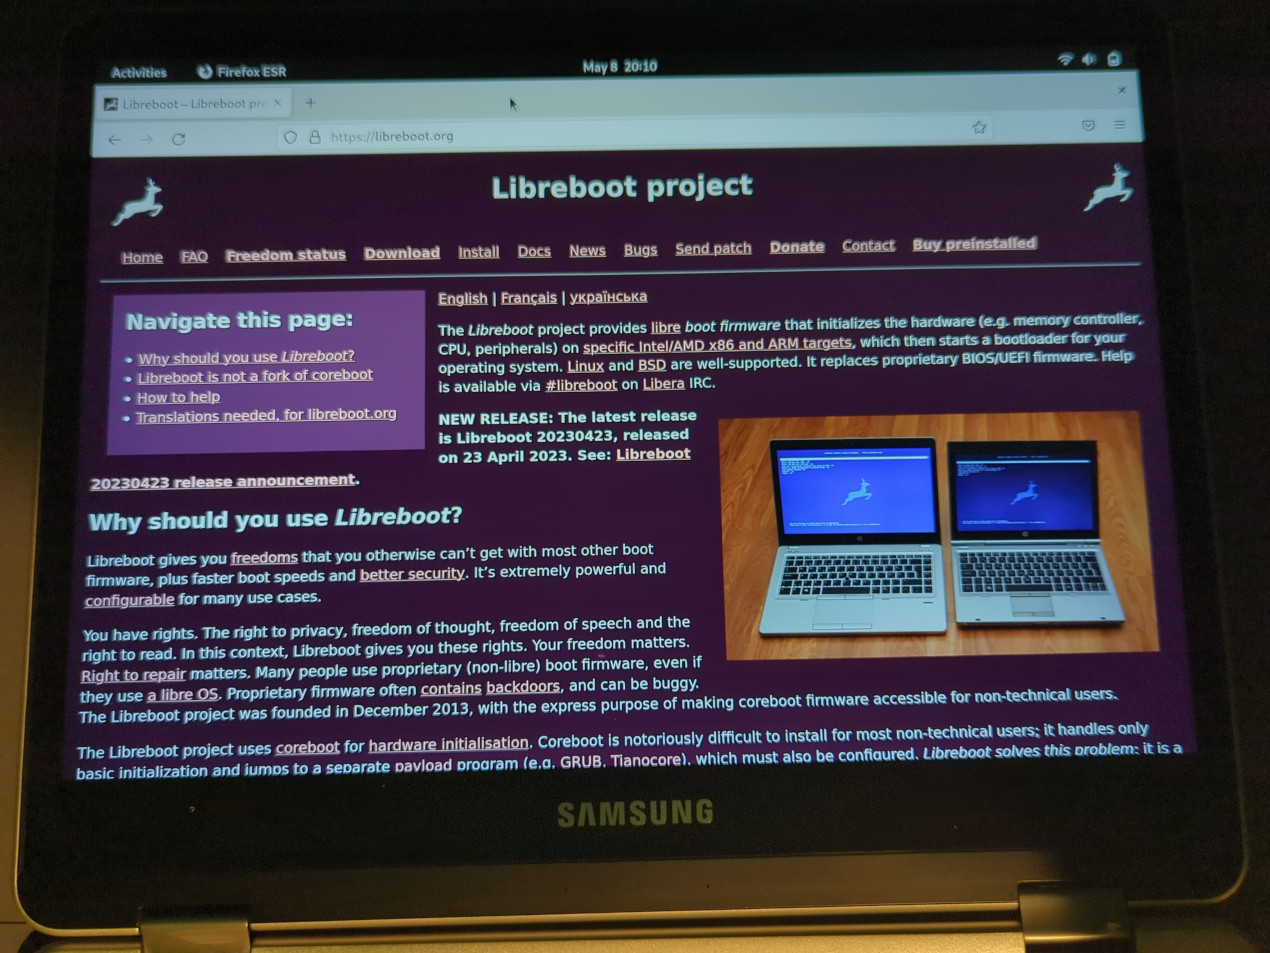
Below are a couple screen shots of the installed system running from the
|
|
|
|
|
internal emmc.
|
|
|
|
|
|
|
|
|
|
|
|
|
|
|
|
|
|
|
|
|
|
|
|
|
System Functionality
|
|
|
|
|
====================
|
|
|
|
|
|
2023-05-11 08:24:15 +00:00
|
|
|
Things that work:
|
|
|
|
|
|
2023-10-10 20:46:44 +00:00
|
|
|
* Wireless internet and bluetooth
|
2023-05-09 03:44:21 +00:00
|
|
|
* Touch screen and stylus
|
|
|
|
|
* Touchpad
|
|
|
|
|
* Audio (Speakers and headphone jack)
|
|
|
|
|
* Volume buttons on side of laptop.
|
|
|
|
|
* Graphics (the open source panfrost driver is impressive)
|
|
|
|
|
* Playing videos
|
|
|
|
|
|
2023-05-11 08:24:15 +00:00
|
|
|
Things that do not work:
|
|
|
|
|
|
2023-05-09 03:44:21 +00:00
|
|
|
* Powering off. You can shutdown in Debian and the system goes through the
|
|
|
|
|
normal shut down sequence, but then remains on indefinitely (blue light on
|
|
|
|
|
side near power button). You have to hold the power button down for 10
|
|
|
|
|
seconds or so to completely power off the system.
|