211 lines
7.6 KiB
Markdown
211 lines
7.6 KiB
Markdown
|
|
---
|
||
|
|
title: Flashing the ThinkPad R400
|
||
|
|
x-toc-enable: true
|
||
|
|
...
|
||
|
|
|
||
|
|
**If you haven't bought an R400 yet: the [Dell Latitude
|
||
|
|
E6400](../../news/e6400.md) is much easier to flash; no disassembly required,
|
||
|
|
it can be flashed entirely in software from Dell BIOS to Libreboot. It is the
|
||
|
|
same hardware generation (GM45), with same CPUs, video processor, etc.**
|
||
|
|
|
||
|
|
Initial flashing instructions for R400.
|
||
|
|
|
||
|
|
This guide is for those who want libreboot on their ThinkPad R400 while
|
||
|
|
they still have the original Lenovo BIOS present. This guide can also be
|
||
|
|
followed (adapted) if you brick your R400, to know how to recover.
|
||
|
|
|
||
|
|
Before following this section, please make sure to setup your libreboot
|
||
|
|
ROM properly first. Although ROM images are provided pre-built in
|
||
|
|
libreboot, there are some modifications that you need to make to the one
|
||
|
|
you chose before flashing. (instructions referenced later in this guide)
|
||
|
|
|
||
|
|
Serial port {#serial_port}
|
||
|
|
-----------
|
||
|
|
|
||
|
|
EHCI debug might not be needed. It has been reported that the docking
|
||
|
|
station for this laptop has a serial port, so it might be possible to
|
||
|
|
use that instead.
|
||
|
|
|
||
|
|
A note about CPUs
|
||
|
|
=================
|
||
|
|
|
||
|
|
[ThinkWiki](http://www.thinkwiki.org/wiki/Category:R400) has a list of
|
||
|
|
CPUs for this system. The Core 2 Duo P8400 and P8600 are believed to
|
||
|
|
work in libreboot. The Core 2 Duo T9600 was confirmed to work, so the
|
||
|
|
T9400 probably also works. *The Core 2 Duo T5870/5670 and Celeron M
|
||
|
|
575/585 are untested!*
|
||
|
|
|
||
|
|
Quad-core CPUs
|
||
|
|
--------------
|
||
|
|
|
||
|
|
Incompatible. Do not use.
|
||
|
|
|
||
|
|
A note about GPUs
|
||
|
|
=================
|
||
|
|
|
||
|
|
Some models have an Intel GPU, while others have both an ATI and an
|
||
|
|
Intel GPU; this is referred to as "Dual Graphics" (previously
|
||
|
|
"switchable graphics"). In the *BIOS setup* program for lenovobios,
|
||
|
|
you can specify that the system will use one or the other (but not
|
||
|
|
both).
|
||
|
|
|
||
|
|
libreboot is known to work on systems with only the Intel GPU, using
|
||
|
|
native graphics initialization. On systems with switchable graphics, the
|
||
|
|
Intel GPU is used and the ATI GPU is disabled, so native graphics
|
||
|
|
initialization works all the same.
|
||
|
|
|
||
|
|
CPU paste required
|
||
|
|
==================
|
||
|
|
|
||
|
|
See [\#paste](#paste).
|
||
|
|
|
||
|
|
Flash chip size {#flashchips}
|
||
|
|
===============
|
||
|
|
|
||
|
|
Use this to find out:
|
||
|
|
|
||
|
|
flashrom -p internal
|
||
|
|
|
||
|
|
MAC address {#macaddress}
|
||
|
|
===========
|
||
|
|
|
||
|
|
Refer to [mac\_address.md](../hardware/mac_address.md).
|
||
|
|
|
||
|
|
External flashing
|
||
|
|
=================
|
||
|
|
|
||
|
|
Refer to [spi.md](spi.md) as a guide for external re-flashing.
|
||
|
|
|
||
|
|
Disassembly
|
||
|
|
-----------
|
||
|
|
|
||
|
|
Remove all screws:\
|
||
|
|
\
|
||
|
|
Remove the HDD and optical drive:\
|
||
|
|
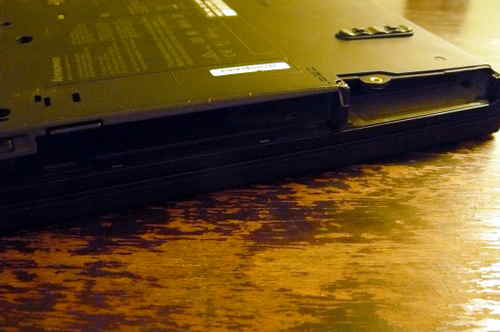\
|
||
|
|
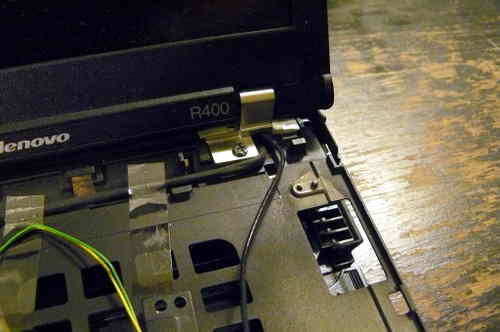
Remove the hinge screws:\
|
||
|
|
|
||
|
|
|
||
|
|
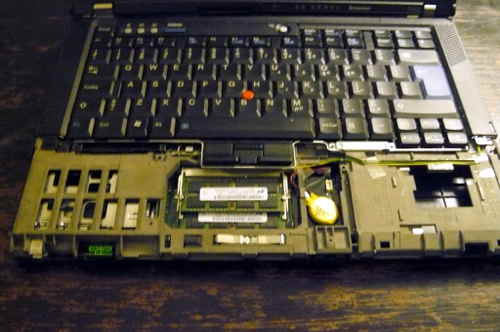
Remove the palm rest and keyboard:\
|
||
|
|
|
||
|
|
|
||
|
|
Remove these screws, and then remove the bezel:\
|
||
|
|
|
||
|
|
|
||
|
|
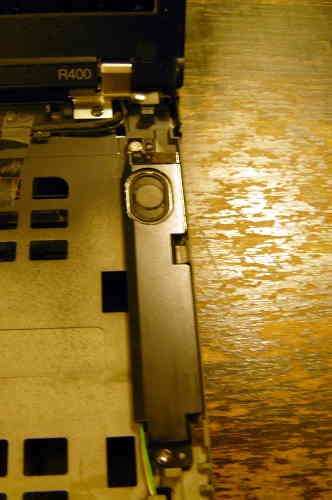
Remove the speaker screws, but don't remove the speakers yet (just set
|
||
|
|
them loose):\
|
||
|
|
|
||
|
|
|
||
|
|
|
||
|
|
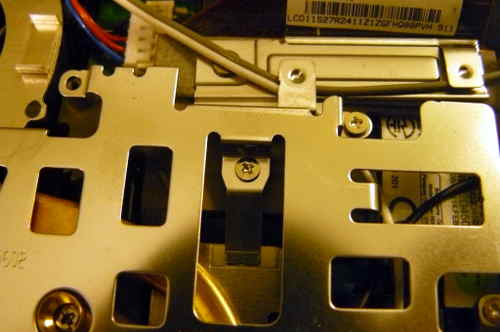
Remove these screws, and then remove the metal plate:\
|
||
|
|
|
||
|
|
|
||
|
|
|
||
|
|
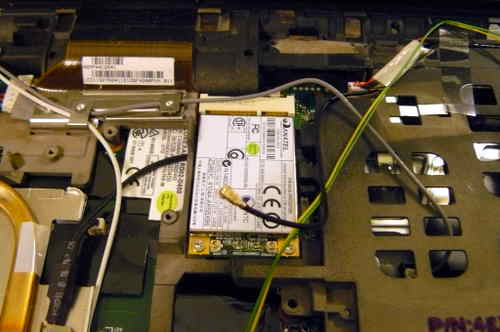
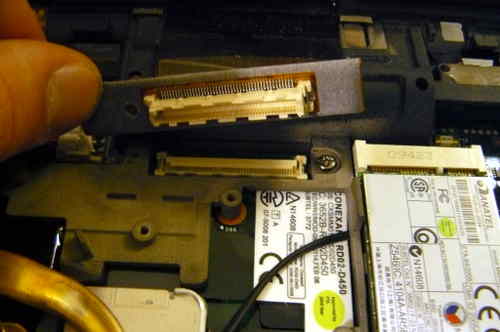
Remove the antennas from the wifi card, and then start unrouting them:\
|
||
|
|
|
||
|
|
|
||
|
|
|
||
|
|
|
||
|
|
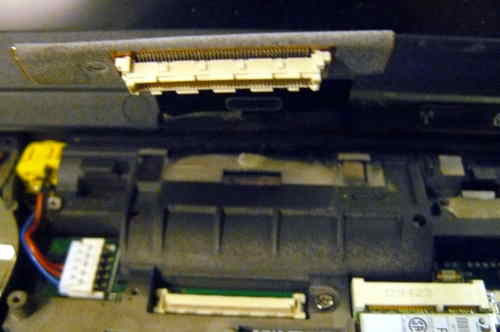
Disconnect the LCD cable from the motherboard:\
|
||
|
|
|
||
|
|
|
||
|
|
|
||
|
|
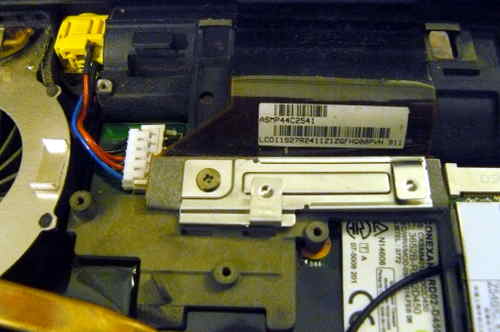
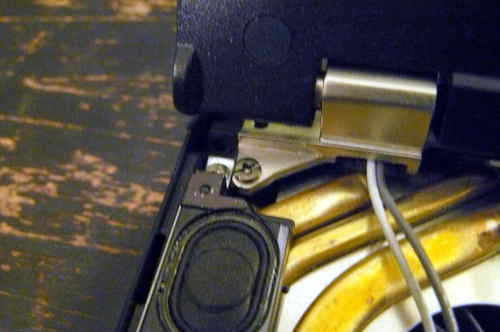
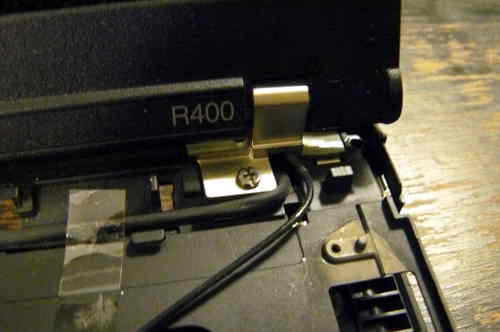
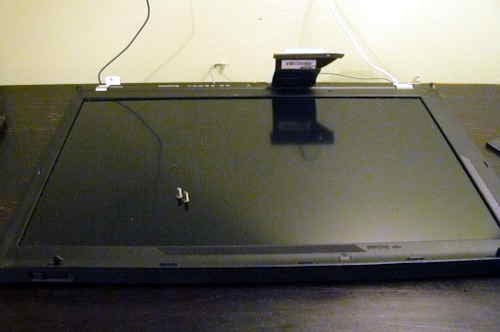
Remove the hinge screws, and then remove the LCD panel:\
|
||
|
|
|
||
|
|
|
||
|
|
|
||
|
|
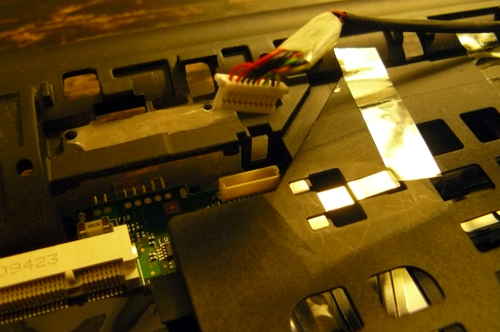
Remove this:\
|
||
|
|
|
||
|
|
|
||
|
|
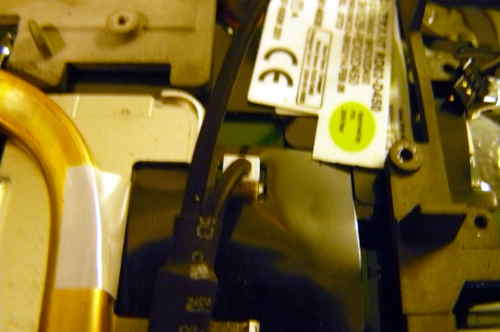
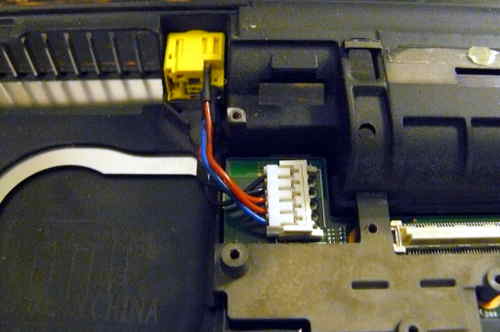
Remove this long cable (there are 3 connections):\
|
||
|
|
|
||
|
|
|
||
|
|
|
||
|
|
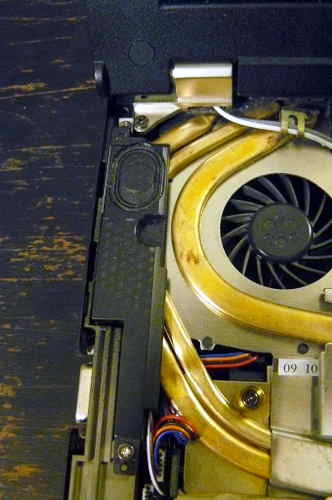
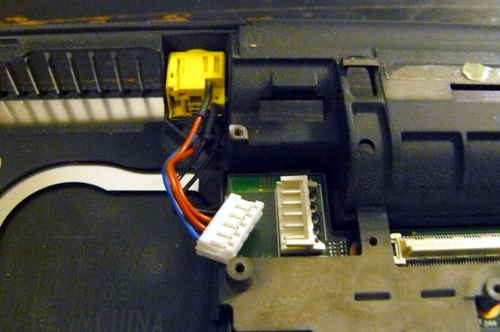
Disconnect the speaker cable, and remove the speakers:\
|
||
|
|
|
||
|
|
|
||
|
|
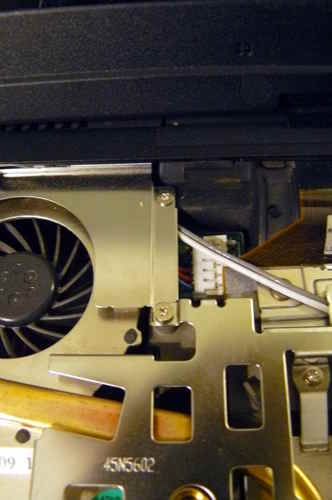
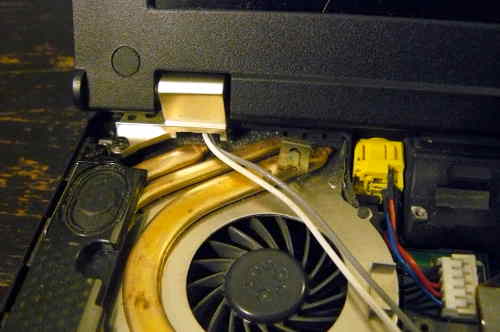
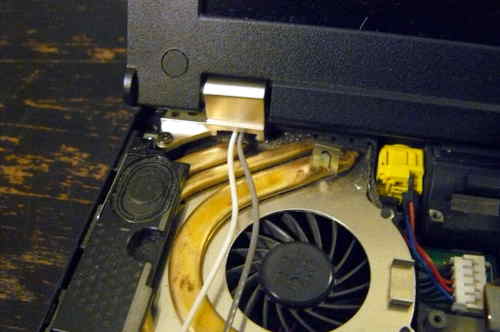
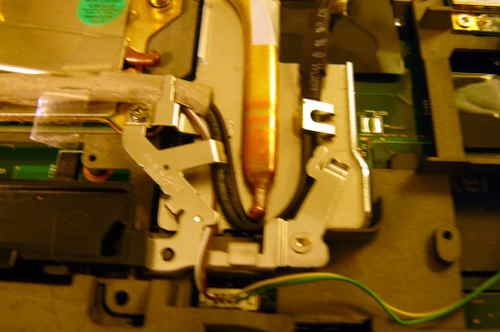
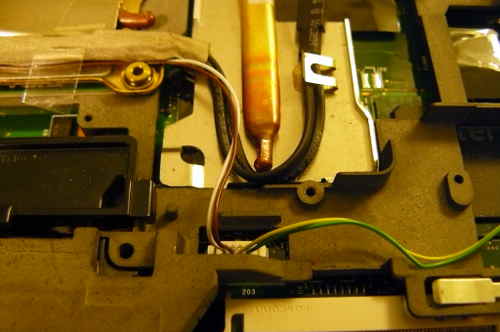
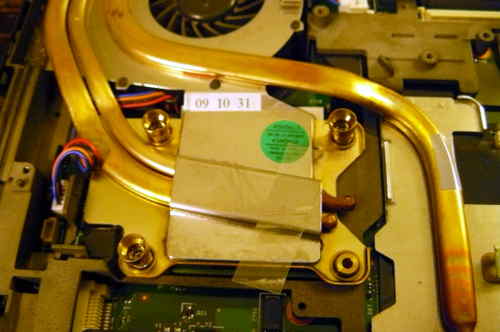
Remove the heatsink screws, remove the fan and then remove the
|
||
|
|
heatsink/fan:\
|
||
|
|
|
||
|
|
|
||
|
|
|
||
|
|
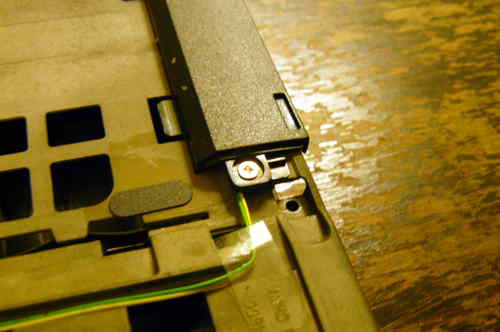
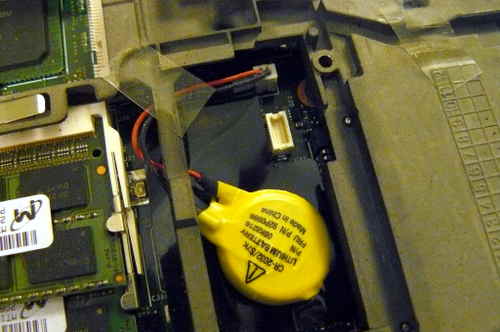
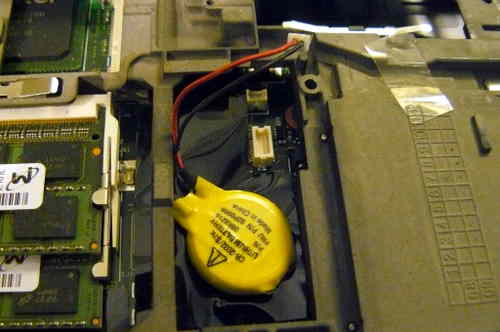
Remove the NVRAM battery:\
|
||
|
|
|
||
|
|
|
||
|
|
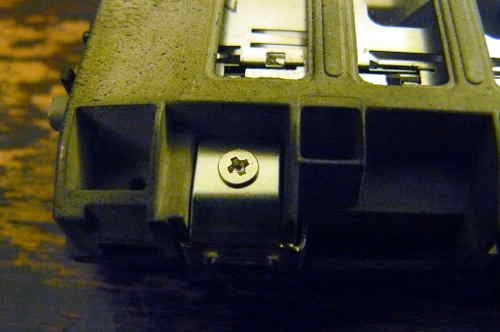
Remove this screw:\
|
||
|
|
|
||
|
|
|
||
|
|
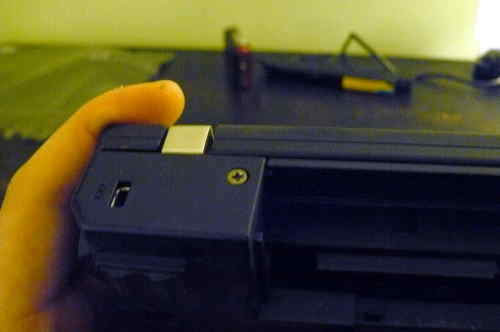
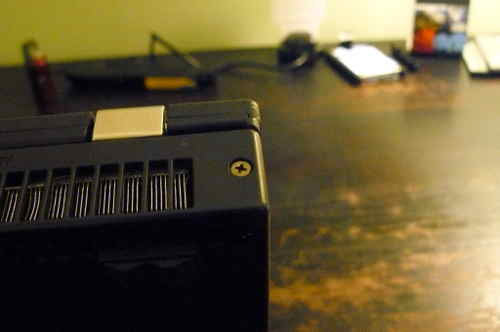
Disconnect the AC jack:\
|
||
|
|
|
||
|
|
|
||
|
|
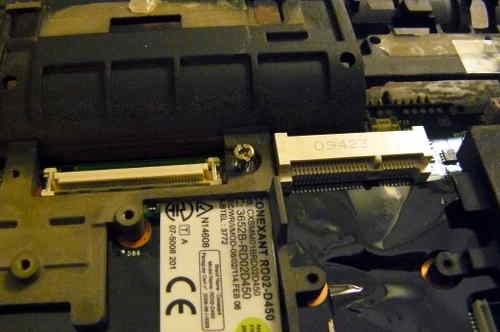
Remove this screw and then remove what is under it:\
|
||
|
|
|
||
|
|
|
||
|
|
Remove this:\
|
||
|
|
|
||
|
|
|
||
|
|
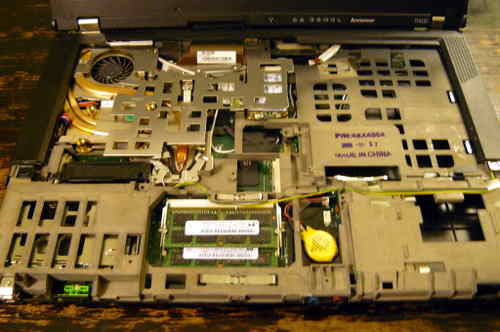
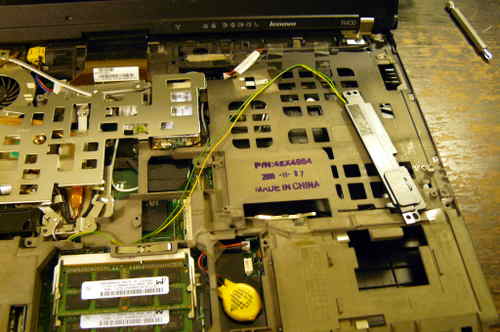
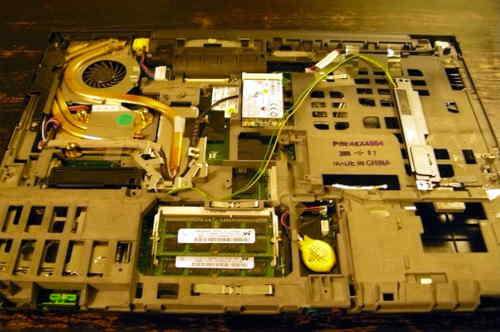
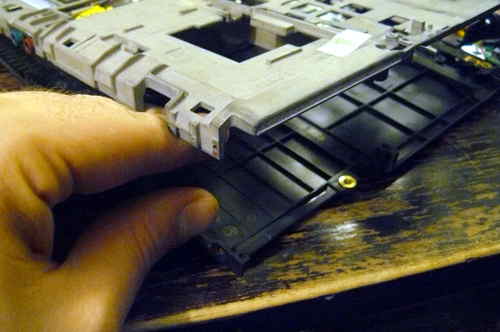
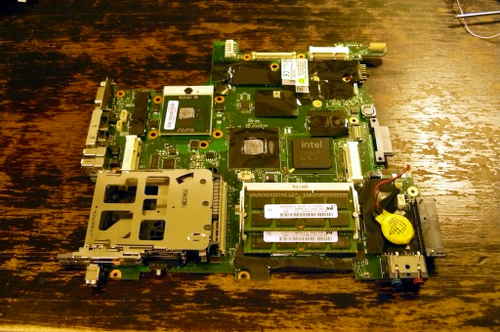
Lift the motherboard (which is still inside the cage) from the side on
|
||
|
|
the right, removing it completely:\
|
||
|
|
|
||
|
|
|
||
|
|
Remove all screws, marking each hole so that you know where to re-insert
|
||
|
|
them. You should place the screws in a layout corresponding to the order
|
||
|
|
that they were in before removal: 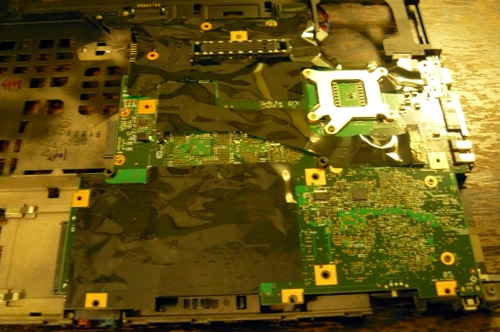
|
||
|
|
|
||
|
|
|
||
|
|
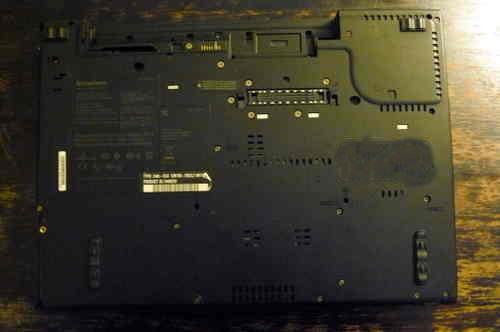
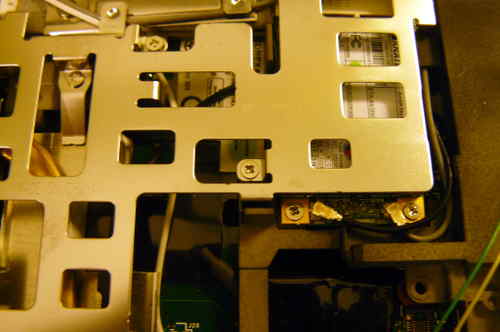
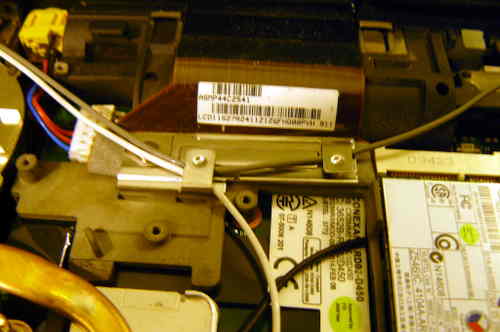
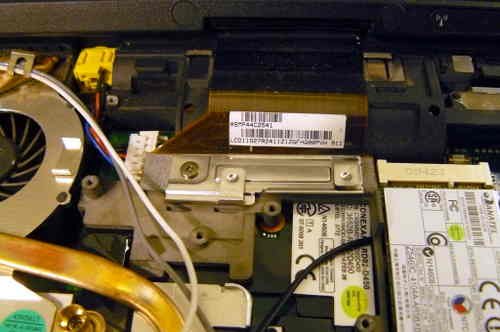
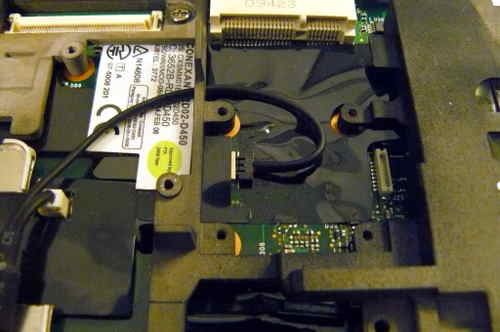
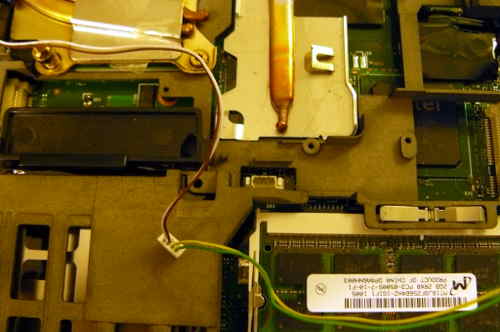
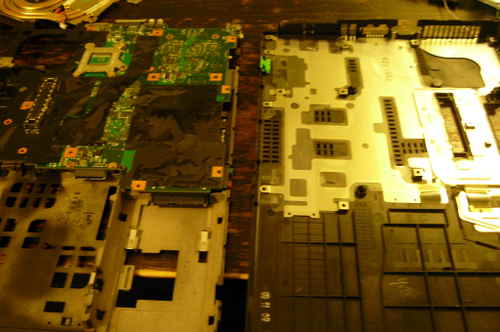
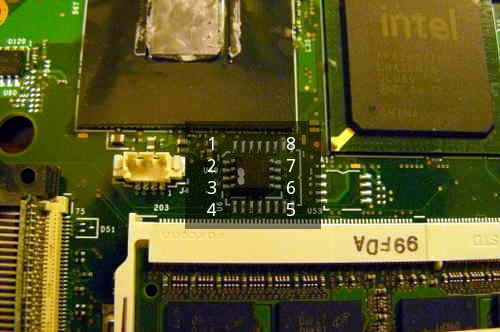
Remove the motherboard from the cage, and the SPI flash chip will be
|
||
|
|
next to the memory slots:\
|
||
|
|
|
||
|
|
|
||
|
|
Now, you should be ready to install libreboot.
|
||
|
|
|
||
|
|
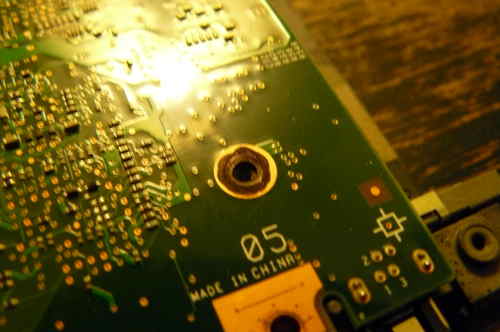
Read [this article](spi.md) to learn how you may flash the chip, which is near
|
||
|
|
to the RAM.
|
||
|
|
|
||
|
|
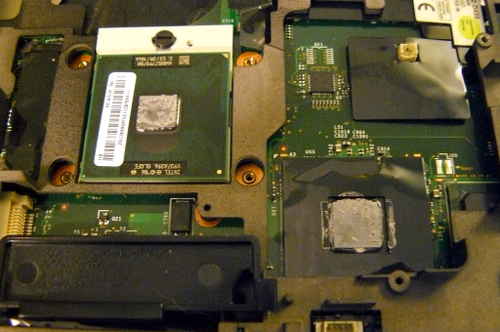
Thermal paste (IMPORTANT)
|
||
|
|
=========================
|
||
|
|
|
||
|
|
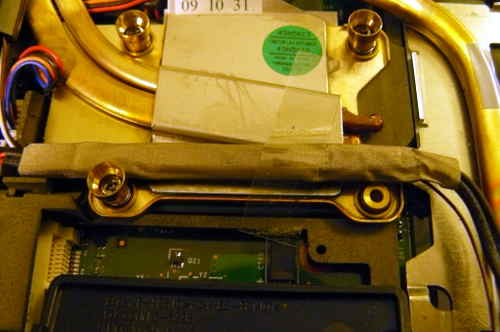
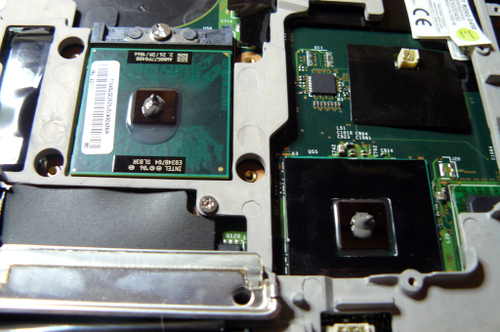
Because part of this procedure involved removing the heatsink, you will
|
||
|
|
need to apply new paste. Arctic MX-4 is ok. You will also need isopropyl
|
||
|
|
alcohol and an anti-static cloth to clean with.
|
||
|
|
|
||
|
|
When re-installing the heatsink, you must first clean off all old paste
|
||
|
|
with the alcohol/cloth. Then apply new paste. Arctic MX-4 is also much
|
||
|
|
better than the default paste used on these systems.
|
||
|
|
|
||
|
|
|
||
|
|
|
||
|
|
NOTE: the photo above is for illustration purposes only, and does not
|
||
|
|
show how to properly apply the thermal paste. Other guides online detail
|
||
|
|
the proper application procedure.
|
||
|
|
|
||
|
|
Memory
|
||
|
|
======
|
||
|
|
|
||
|
|
In DDR3 machines with Cantiga (GM45/GS45/PM45), northbridge requires sticks
|
||
|
|
that will work as PC3-8500 (faster PC3/PC3L sticks can work as PC3-8500).
|
||
|
|
Non-matching pairs may not work. Single module (meaning, one of the slots
|
||
|
|
will be empty) will currently only work in slot 0.
|
||
|
|
|
||
|
|
NOTE: according to users reports, non matching pairs (e.g. 1+2 GiB) might
|
||
|
|
work in some cases.
|
||
|
|
|
||
|
|
Make sure that the RAM you buy is the 2Rx8 configuration when buying 4GiB sticks
|
||
|
|
(In other words: maximum of 2GiB per rank, 2 ranks per card).
|
||
|
|
|
||
|
|
[This page](http://www.forum.thinkpads.com/viewtopic.php?p=760721) might
|
||
|
|
be useful for RAM compatibility info (note: coreboot raminit is
|
||
|
|
different, so this page might be BS)
|
||
|
|
|
||
|
|
The following photo shows 8GiB (2x4GiB) of RAM installed:\
|
||
|
|

|
||
|
|
|
||
|
|
Boot it!
|
||
|
|
--------
|
||
|
|
|
||
|
|
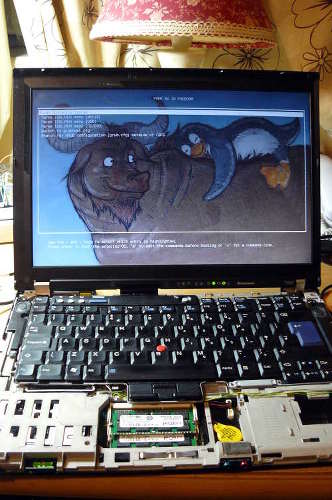
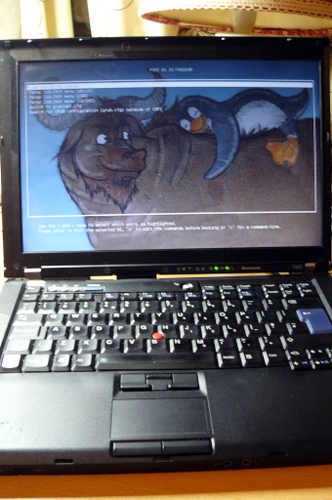
You should see something like this:
|
||
|
|
|
||
|
|
|
||
|
|
|
||
|
|
Now [install Linux](../linux/).
|