326 lines
13 KiB
Markdown
326 lines
13 KiB
Markdown
---
|
|
title: Flashing the ThinkPad T400 externally
|
|
x-toc-enable: true
|
|
...
|
|
|
|
<div class="specs">
|
|
<center>
|
|
<img tabindex=1 alt="ThinkPad T400" class="p" src="https://av.libreboot.org/t400/boot1.jpg" /><span class="f"><img src="https://av.libreboot.org/t400/boot1.jpg" /></span>
|
|
</center>
|
|
|
|
| ***Specifications*** | |
|
|
|----------------------------|------------------------------------------------|
|
|
| **Manufacturer** | Lenovo |
|
|
| **Name** | ThinkPad T400 |
|
|
| **Released** | 2009 |
|
|
| **Chipset** | Intel Cantiga GM45 |
|
|
| **CPU** | Intel Core 2 Duo (Penryn family). A Quad-core
|
|
mod exists, replacing the Core 2 Duo with a Core Quad |
|
|
| **Graphics** | Intel GMA 4500MHD (and ATI Mobility Radeon HD
|
|
3650 on some models) |
|
|
| **Display** | 1280x800/1440x900 TFT |
|
|
| **Memory** | 2 or 4GB (Upgradable to 8GB) |
|
|
| **Architecture** | x86_64 |
|
|
| **EC** | Proprietary |
|
|
| **Original boot firmware** | LenovoBIOS |
|
|
| **Intel ME/AMD PSP** | Present. Can be completly disabled. |
|
|
| **Flash chip** | SOIC-8/SOIC-16/WSON-8 4MiB/8MiB (Upgradable
|
|
to 16MiB) |
|
|
```
|
|
W+: Works without vendor firmware;
|
|
N: Doesn't work;
|
|
W*: Works with vendor firmware;
|
|
U: Untested;
|
|
P+: Partially works;
|
|
P*: Partially works with vendor firmware
|
|
```
|
|
|
|
| ***Features*** | |
|
|
|----------------|---------------------------------------|
|
|
| **Internal flashing with original boot firmware** | N |
|
|
| **Display** | W+ |
|
|
| **Audio** | W+ |
|
|
| **RAM Init** | W+ |
|
|
| **External output** | W+ |
|
|
| **Display brightness** | P+ |
|
|
|
|
| ***Payloads supported*** | |
|
|
|---------------------------|-----------|
|
|
| **GRUB** | Works |
|
|
| **SeaBIOS** | Works |
|
|
| **SeaBIOS with GRUB** | Works |
|
|
</div>
|
|
|
|
Dell Latitude E6400
|
|
===================
|
|
|
|
**If you haven't bought an T400 yet: the [Dell Latitude
|
|
E6400](../install/latitude.md) is much easier to flash; no disassembly required,
|
|
it can be flashed entirely in software from Dell BIOS to Canoeboot. It is the
|
|
same hardware generation (GM45), with same CPUs, video processor, etc.**
|
|
|
|
Introduction
|
|
============
|
|
|
|
It is believed that all or most laptops of the model T400 are compatible. See notes
|
|
about [CPU
|
|
compatibility](#cpu_compatibility) for
|
|
potential incompatibilities.
|
|
|
|
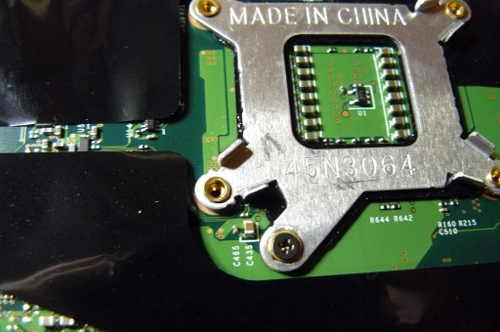
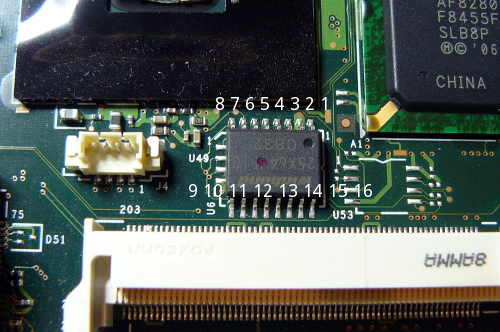
There are two possible flash chip sizes for the T400: 4MiB (32Mbit) or
|
|
8MiB (64Mbit). This can be identified by the type of flash chip below
|
|
the palmrest: 4MiB is SOIC-8, 8MiB is SOIC-16.
|
|
|
|
*The T400 laptops come with the ME (and sometimes AMT in addition)
|
|
before flashing canoeboot. Canoeboot disables and removes it by using a
|
|
modified descriptor: see [../install/ich9utils.md](../install/ich9utils.md)*
|
|
(contains notes, plus instructions)
|
|
|
|
Flashing instructions can be found at
|
|
[../install/\#flashprog](../install/#flashprog)
|
|
|
|
EC update {#ecupdate}
|
|
=========
|
|
|
|
It is recommended that you update to the latest EC firmware version. The
|
|
[EC firmware](../../faq.md#ec-embedded-controller-firmware) is separate from
|
|
libreboot, so we don't actually provide that, but if you still have
|
|
Lenovo BIOS then you can just run the Lenovo BIOS update utility, which
|
|
will update both the BIOS and EC version. See:
|
|
|
|
- [../install/#flashprog](../install/#flashprog)
|
|
- <http://www.thinkwiki.org/wiki/BIOS_update_without_optical_disk>
|
|
|
|
NOTE: this can only be done when you are using Lenovo BIOS. How to
|
|
update the EC firmware while running libreboot is unknown. libreboot
|
|
only replaces the BIOS firmware, not EC.
|
|
|
|
Updated EC firmware has several advantages e.g. bettery battery
|
|
handling.
|
|
|
|
The T400 is almost identical to the X200, code-wise. See
|
|
[x200.md](x200.md).
|
|
|
|
Installation notes
|
|
============
|
|
|
|
[External flashing](spi.md) required, if Lenovo BIOS is running.
|
|
|
|
This guide is for those who want Canoeboot on their ThinkPad T400 while
|
|
they still have the original Lenovo BIOS present. This guide can also be
|
|
followed (adapted) if you brick your T400, to know how to recover.
|
|
|
|
An
|
|
["HMM"](https://download.lenovo.com/ibmdl/pub/pc/pccbbs/mobiles_pdf/43y6629_05.pdf#page=386)
|
|
(Hardware Maintenance Manual) detailing the process of [dis]assembly
|
|
is available for this model. Be careful when reassembling the laptop as
|
|
the screws on page 114 (with title "1130 Keyboard bezel") are swapped
|
|
and if you follow the HMM you will punch a hole through the bezel in the
|
|
upper right corner.
|
|
|
|
Serial port {#serial_port}
|
|
-----------
|
|
|
|
EHCI debug might not be needed. It has been reported that the docking
|
|
station for this laptop has a serial port, so it might be possible to
|
|
use that instead.
|
|
|
|
A note about CPUs
|
|
=================
|
|
|
|
[ThinkWiki](http://www.thinkwiki.org/wiki/Category:T400) has a list of
|
|
CPUs for this system. The Core 2 Duo P8400, P8600 and P8700 are believed
|
|
to work with Canoeboot.
|
|
|
|
T9600, T9500, T9550 and T9900 are all compatible, as reported by users.
|
|
|
|
Quad-core CPUs
|
|
--------------
|
|
|
|
Very likely to be compatible, but requires hardware modification.
|
|
Based on info from German forum post about installing Core Quad CPU on T500 found in coreboot mailing list. Currently work in progress and no guide available.
|
|
|
|
- [Coreboot mailing list post](https://mail.coreboot.org/pipermail/coreboot/2016-November/082463.html)
|
|
- [German forum post about install Core Quad on T500](https://thinkpad-forum.de/threads/199129)
|
|
|
|
|
|
A note about GPUs
|
|
=================
|
|
|
|
Some models have an Intel GPU, while others have both an ATI and an
|
|
Intel GPU; this is referred to as "switchable graphics". In the *BIOS
|
|
setup* program for lenovobios, you can specify that the system will use
|
|
one or the other (but not both).
|
|
|
|
Canoeboot is known to work on systems with only the Intel GPU, using
|
|
native graphics initialization. On systems with switchable graphics, the
|
|
Intel GPU is used and the ATI GPU is disabled, so native graphics
|
|
initialization works all the same.
|
|
|
|
CPU paste required
|
|
==================
|
|
|
|
See [\#paste](#paste).
|
|
|
|
Flash chip size {#flashchips}
|
|
===============
|
|
|
|
Use this to find out:
|
|
|
|
flashprog -p internal
|
|
|
|
MAC address {#macaddress}
|
|
===========
|
|
|
|
Refer to [mac\_address.md](mac_address.md).
|
|
|
|
How to flash externally
|
|
=========================
|
|
|
|
Refer to [spi.md](spi.md) as a guide for external re-flashing.
|
|
|
|
The procedure
|
|
-------------
|
|
|
|
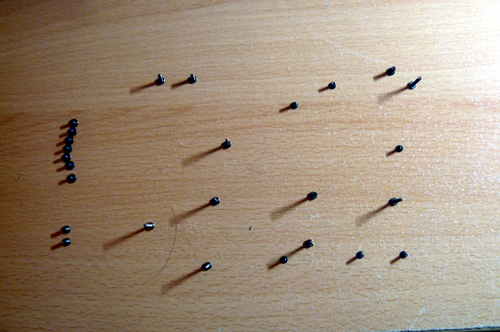
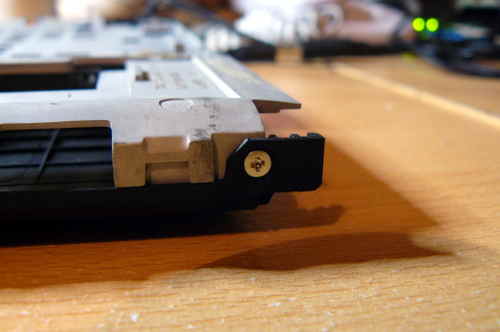
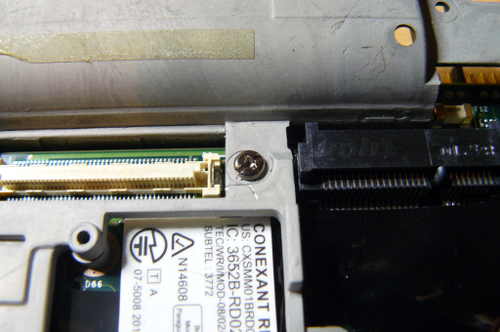
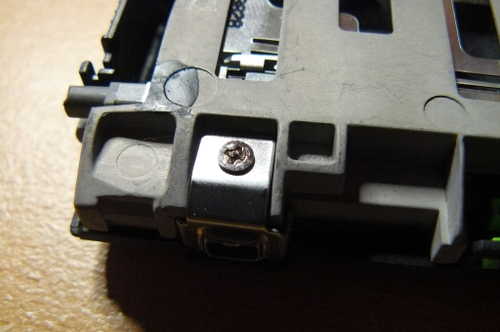
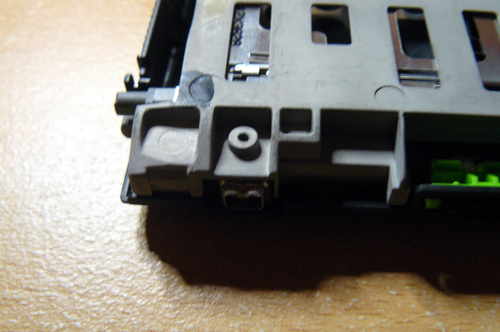
Remove *all* screws, placing them in the order that you removed them:\
|
|
|
|
|
|
Remove those three screws then remove the rear bezel:\
|
|
|
|
|
|
|
|
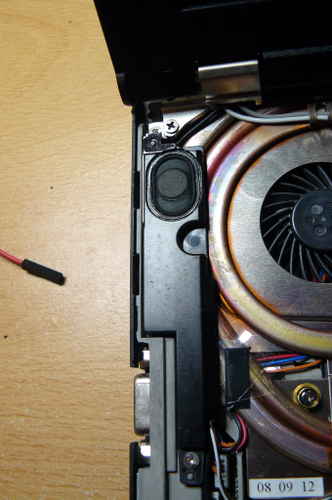
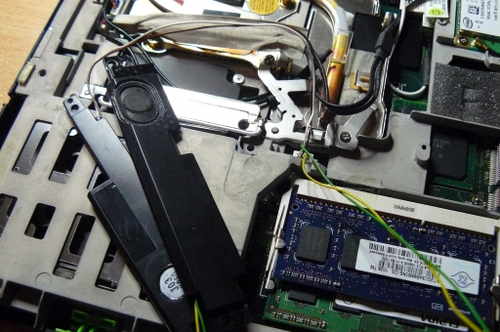
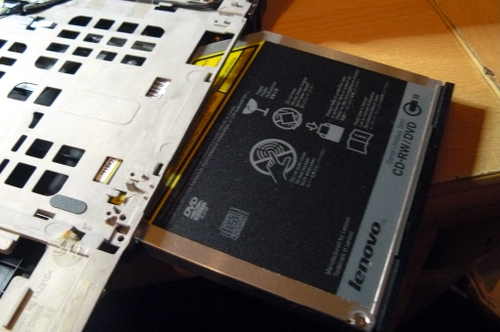
Remove the speakers:\
|
|
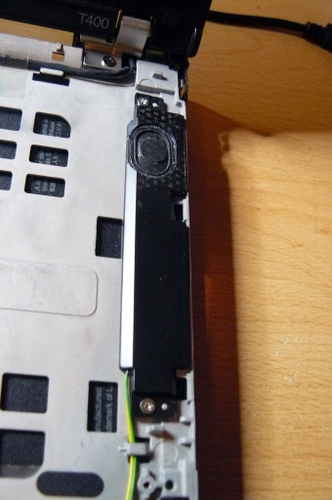 
|
|
|
|
|
|
|
|
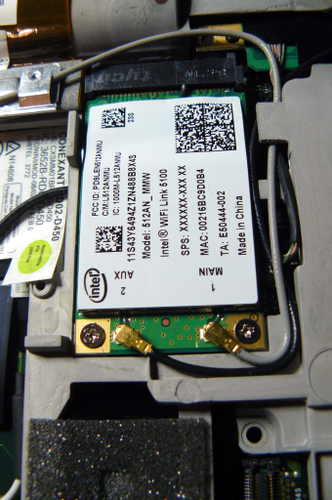
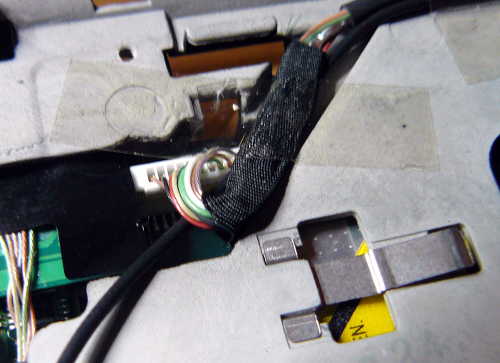
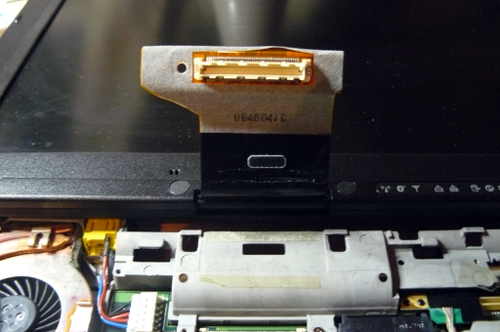
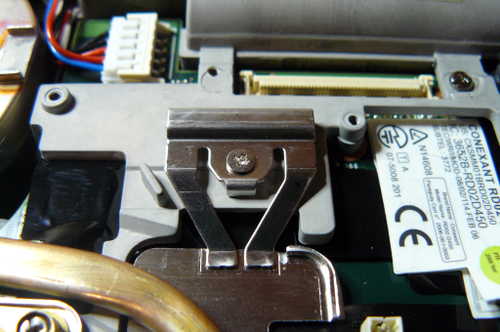
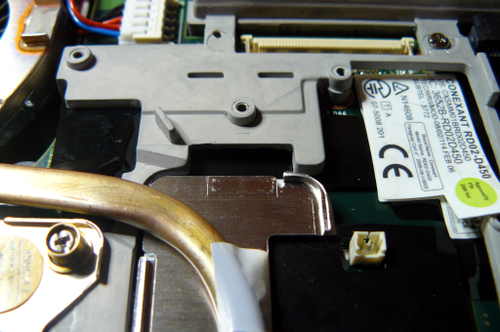
Remove the wifi:\
|
|
 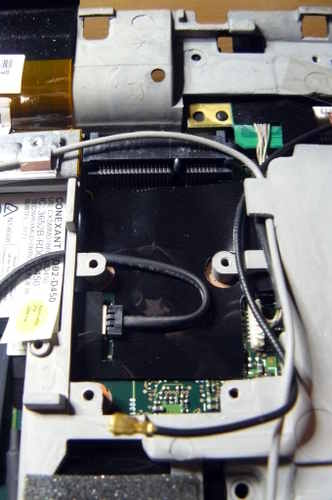
|
|
|
|
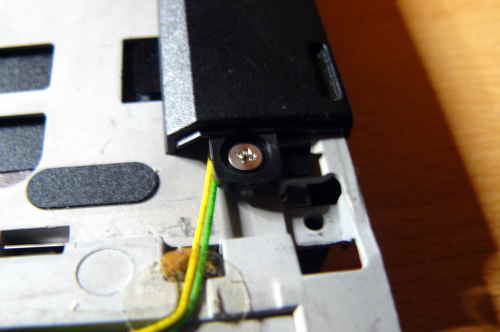
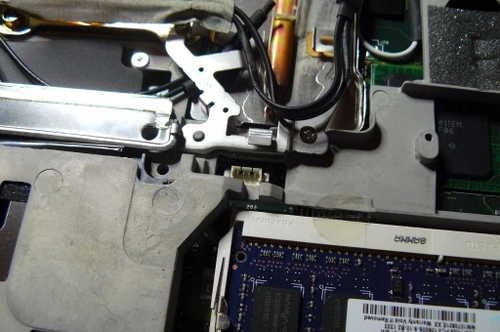
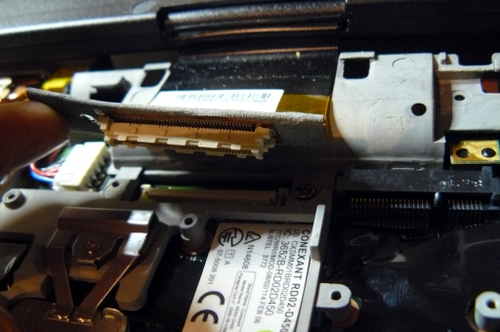
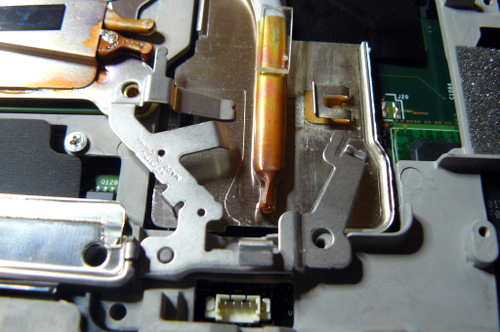
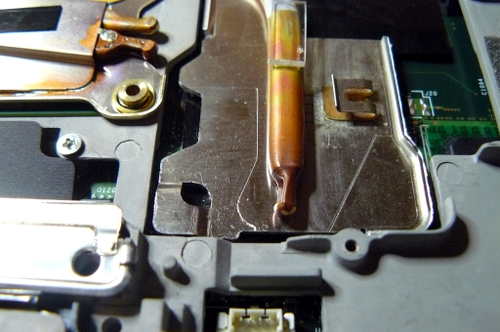
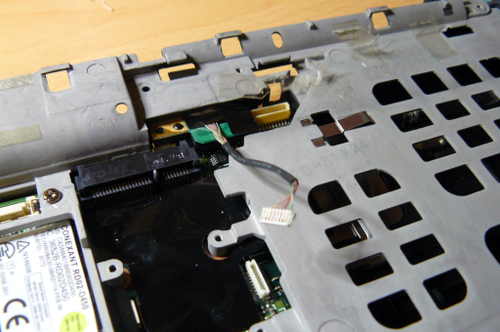
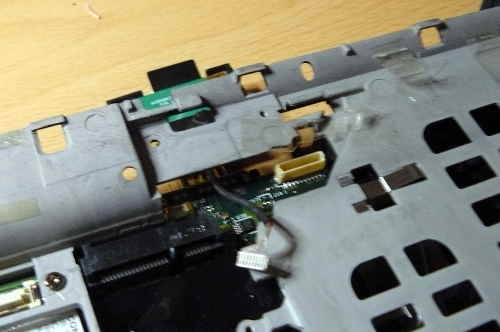
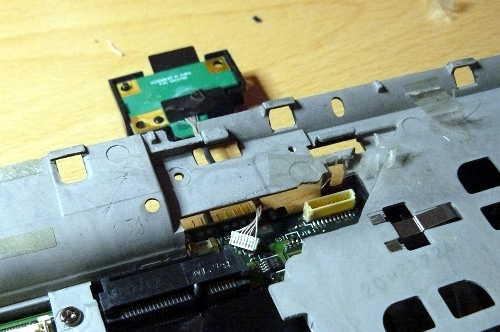
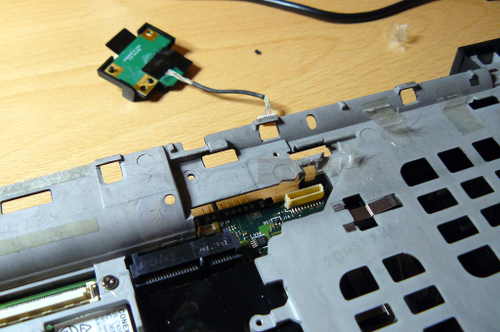
Remove this cable:\
|
|
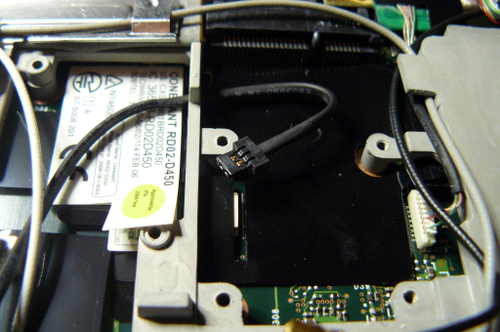 
|
|
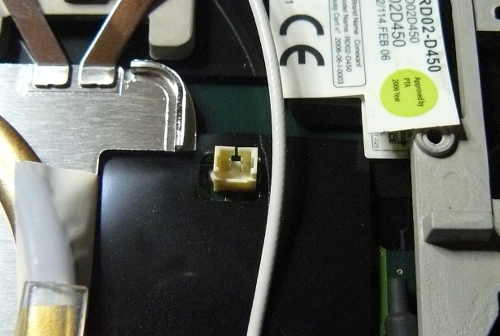 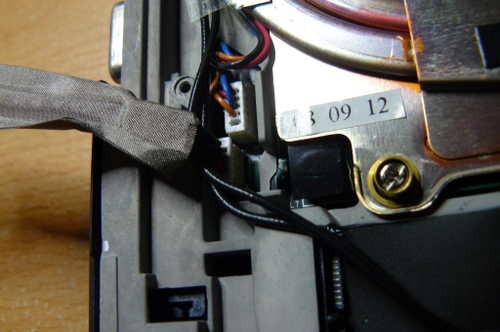
|
|
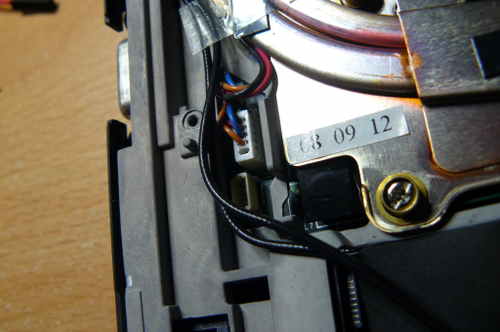
|
|
|
|
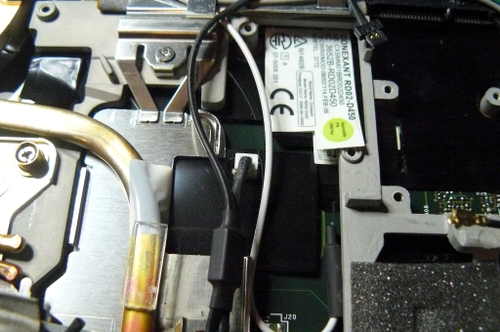
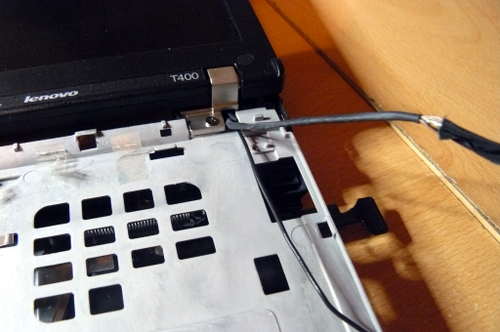
Unroute those antenna wires:\
|
|
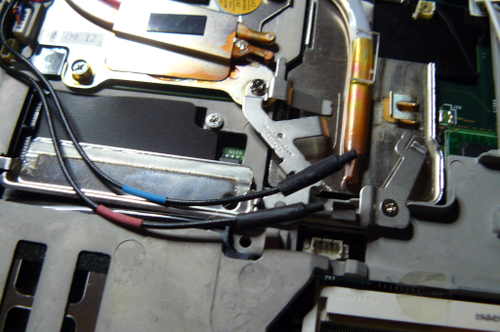 
|
|
|
|
|
|
|
|
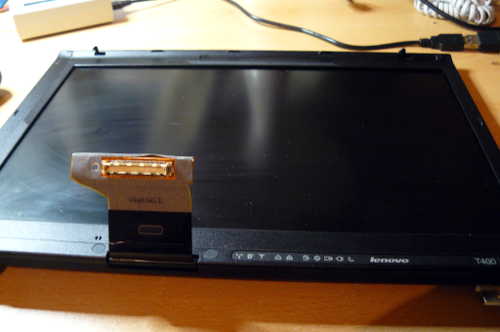
Remove the LCD assembly:\
|
|
|
|
|
|
|
|
|
|
|
|
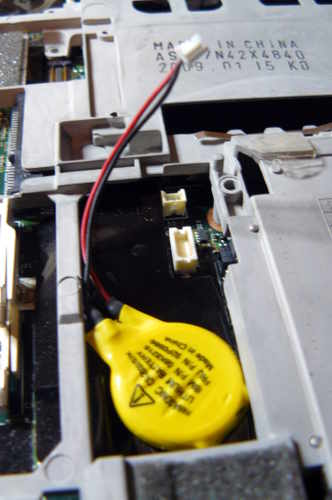
Disconnect the NVRAM battery:\
|
|
|
|
|
|
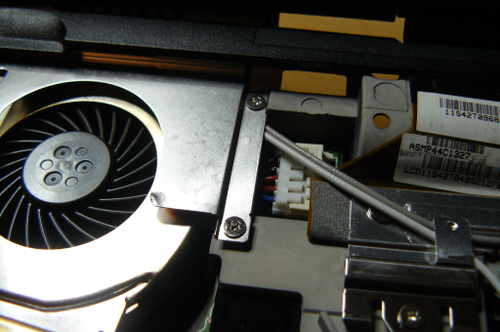
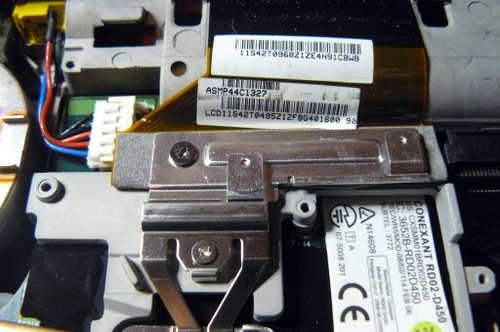
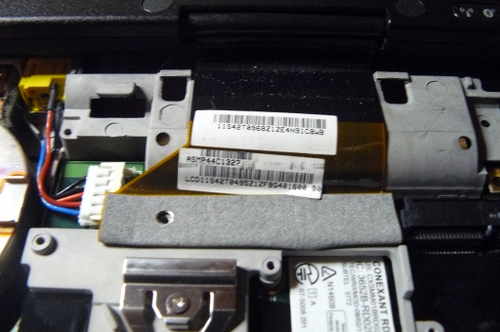
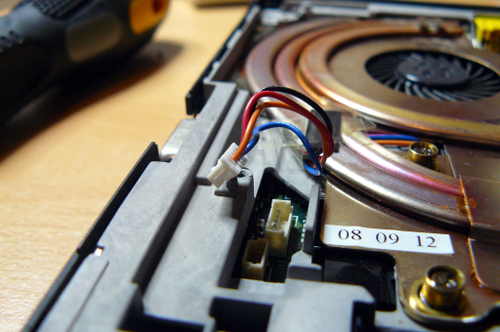
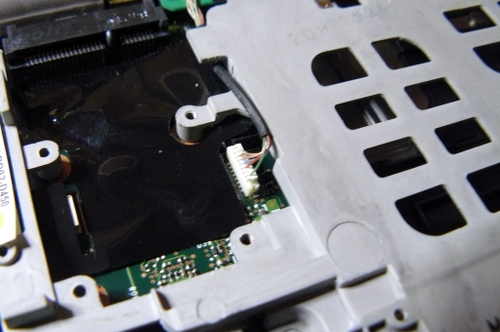
Disconnect the fan:\
|
|
|
|
|
|
Unscrew these:\
|
|
|
|
|
|
|
|
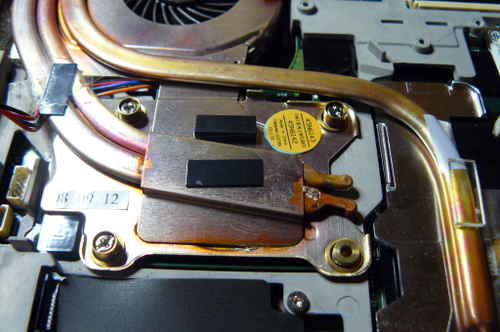
Unscrew the heatsink, then lift it off:\
|
|
|
|
|
|
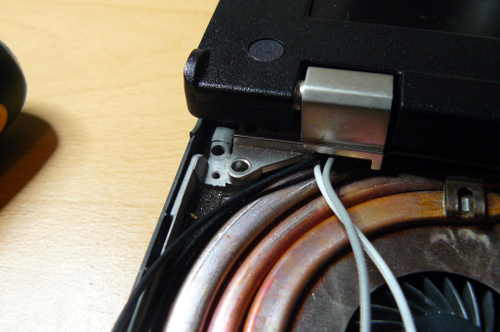
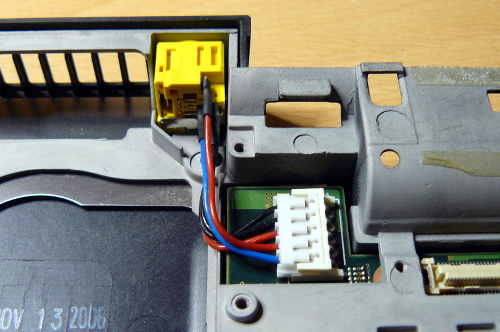
Disconnect the power jack:\
|
|
|
|
|
|
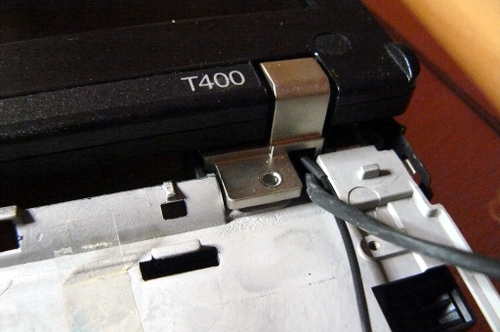
Loosen this:\
|
|

|
|
|
|
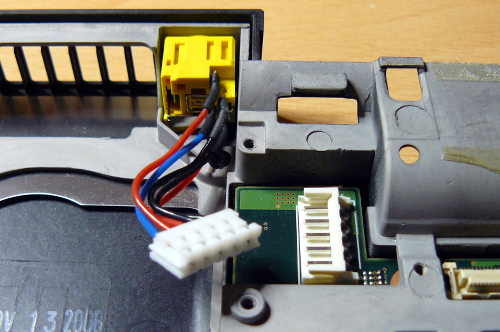
Remove this:\
|
|
|
|
|
|
|
|
|
|
Unscrew these:\
|
|
|
|
|
|
Remove this:\
|
|
|
|
|
|
Unscrew this:\
|
|
|
|
|
|
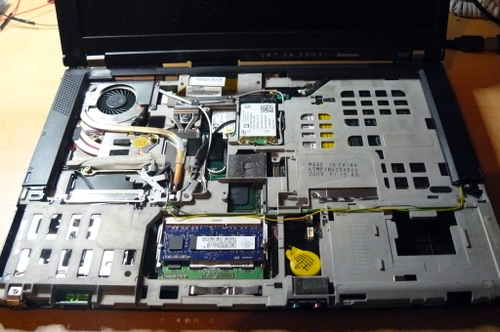
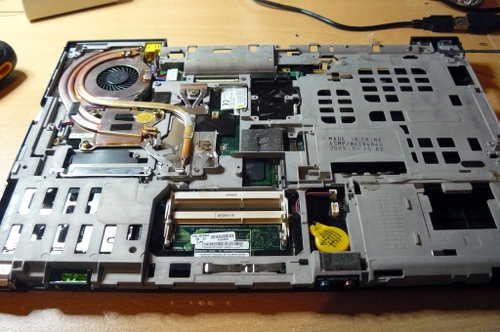
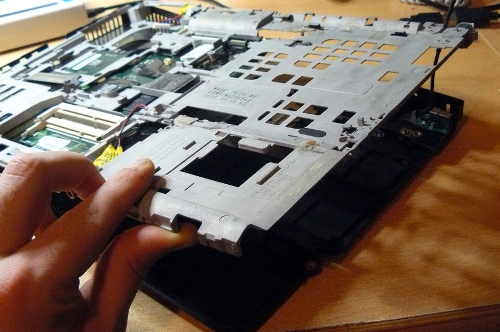
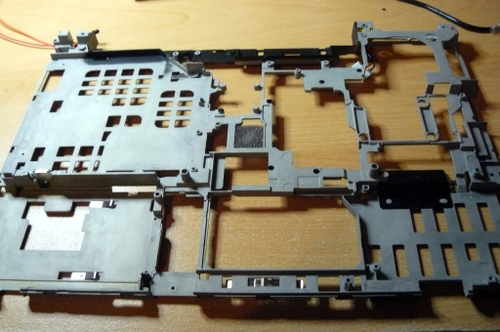
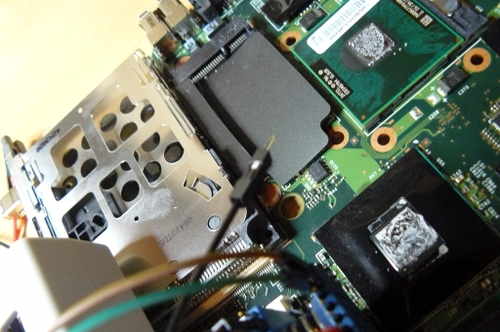
Remove the motherboard (the cage is still attached) from the right hand
|
|
side, then lift it out:\
|
|
|
|
|
|
|
|
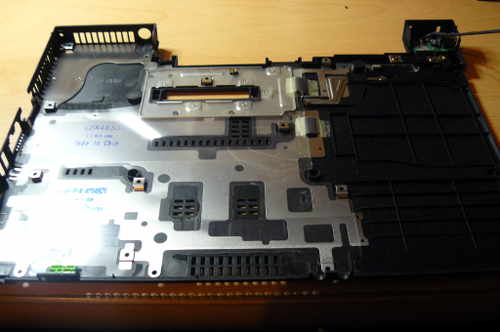
Remove these screws, placing the screws in the same layout and marking
|
|
each screw hole (so that you know what ones to put the screws back into
|
|
later): 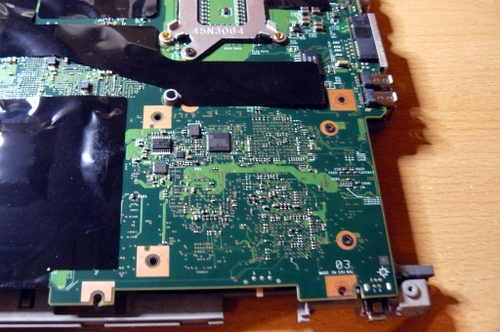 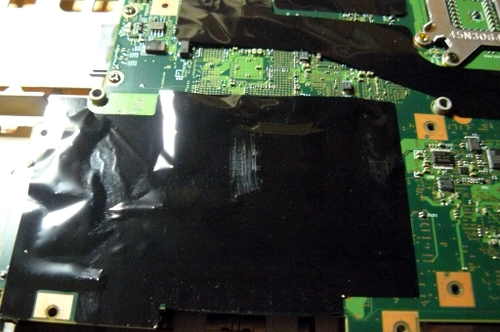
|
|
|
|
|
|
|
|
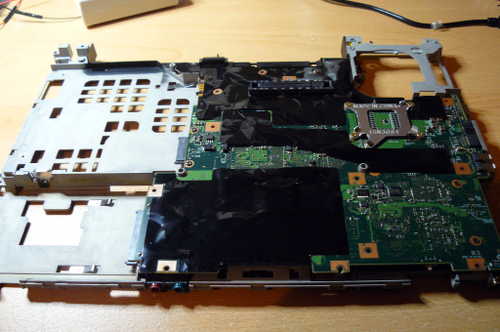
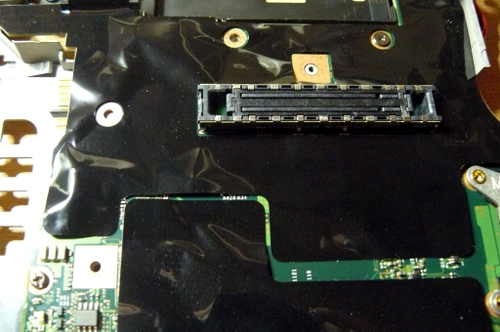
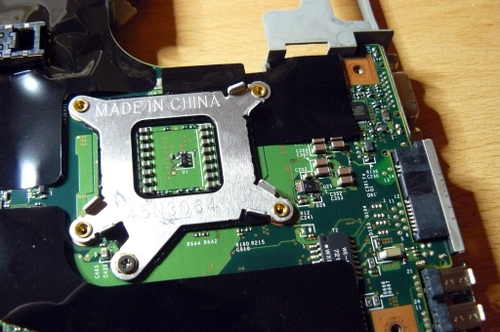
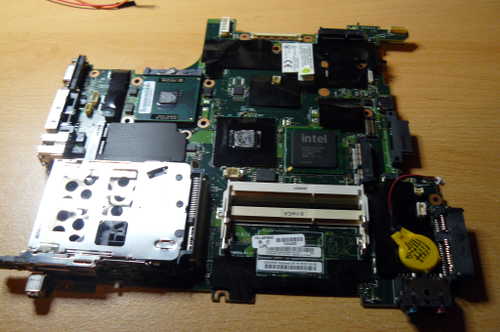
Separate the motherboard:\
|
|
|
|
|
|
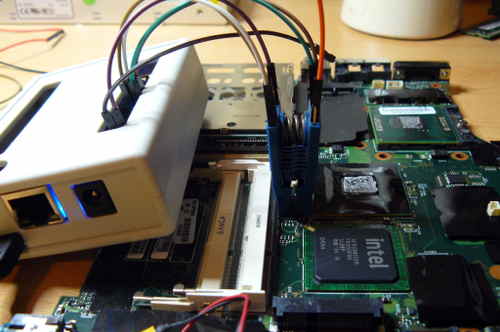
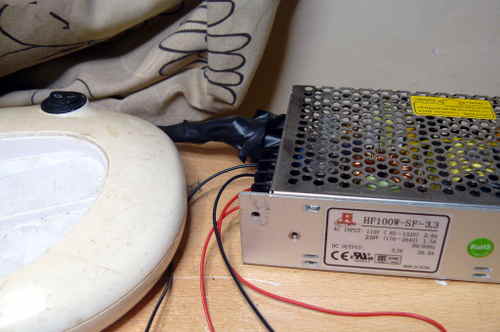
Connect your programmer, then connect GND and 3.3V\
|
|
|
|
|
|
|
|
|
|
A dedicated 3.3V PSU was used to create this guide, but at ATX PSU is
|
|
also fine:\
|
|
|
|
|
|
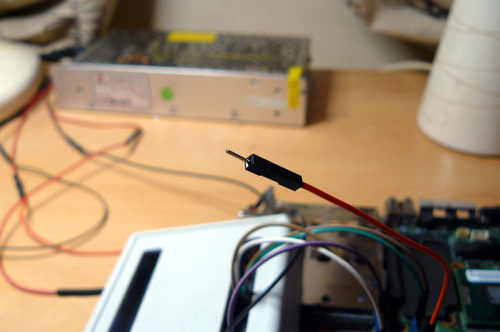
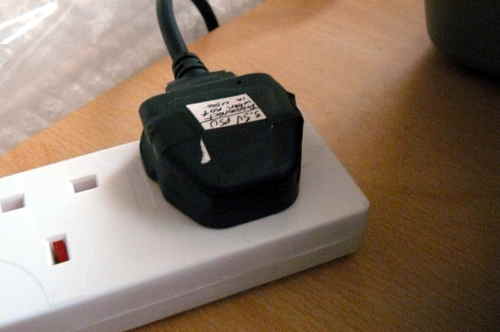
Of course, make sure to turn on your PSU:\
|
|
|
|
|
|
Now, you should be ready to install Canoeboot.
|
|
|
|
Refer to the external flashing instructions [here](spi.md), and when you're
|
|
done, re-assemble your laptop.
|
|
|
|
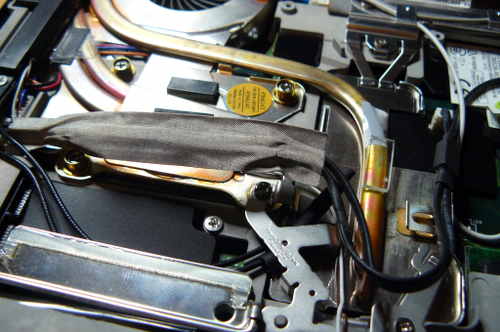
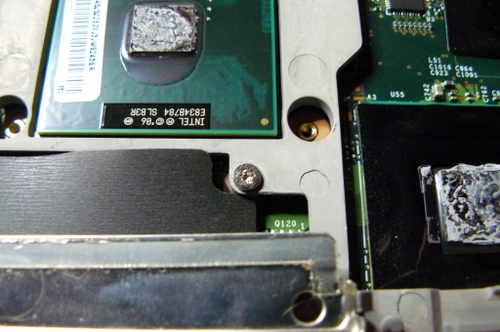
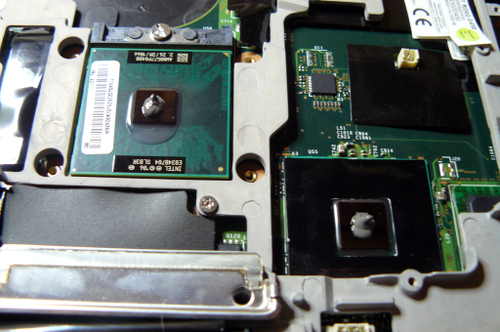
Thermal paste (IMPORTANT)
|
|
=========================
|
|
|
|
Because part of this procedure involved removing the heatsink, you will
|
|
need to apply new paste. Arctic MX-4 is ok. You will also need isopropyl
|
|
alcohol and an anti-static cloth to clean with.
|
|
|
|
When re-installing the heatsink, you must first clean off all old paste
|
|
with the alcohol/cloth. Then apply new paste. Arctic MX-4 is also much
|
|
better than the default paste used on these systems.
|
|
|
|
|
|
|
|
NOTE: the photo above is for illustration purposes only, and does not
|
|
show how to properly apply the thermal paste. Other guides online detail
|
|
the proper application procedure.
|
|
|
|
Memory
|
|
======
|
|
|
|
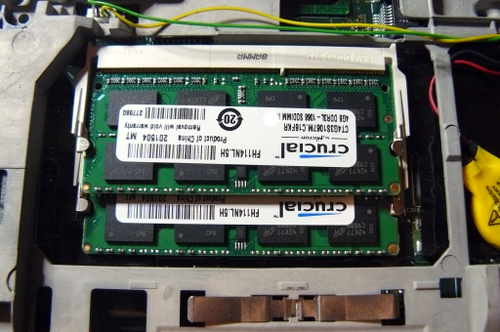
In DDR3 machines with Cantiga (GM45/GS45/PM45), northbridge requires sticks
|
|
that will work as PC3-8500 (faster PC3/PC3L sticks can work as PC3-8500).
|
|
Non-matching pairs may not work. Single module (meaning, one of the slots
|
|
will be empty) will currently only work in slot 0.
|
|
|
|
NOTE: according to users reports, non matching pairs (e.g. 1+2 GiB) might
|
|
work in some cases.
|
|
|
|
Make sure that the RAM you buy is the 2Rx8 configuration when buying 4GiB sticks
|
|
(In other words: maximum of 2GiB per rank, 2 ranks per card).
|
|
|
|
[This page](http://www.forum.thinkpads.com/viewtopic.php?p=760721) might
|
|
be useful for RAM compatibility info (note: coreboot raminit is
|
|
different, so this page might be BS)
|
|
|
|
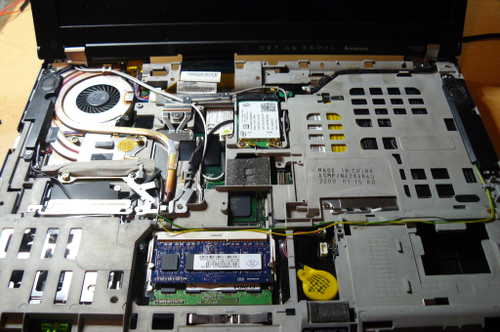
The following photo shows 8GiB (2x4GiB) of RAM installed:\
|
|
|
|
|
|
Boot it!
|
|
--------
|
|
|
|
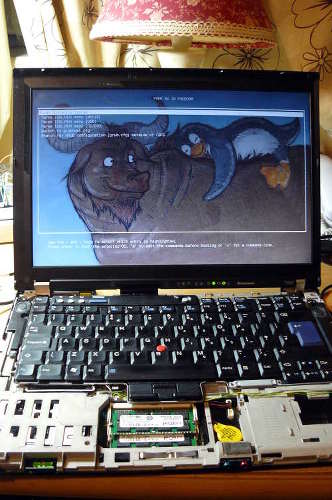
You should see something like this:
|
|
|
|
|
|
|
|
Now [install GNU+Linux](../gnulinux/).
|