143 lines
6.5 KiB
Markdown
143 lines
6.5 KiB
Markdown
---
|
|
title: Install Canoeboot on Intel D945GCLF and/or D945GCLF2
|
|
x-toc-enable: true
|
|
...
|
|
|
|
This guide is for those who want Canoeboot on their Intel D945GCLF
|
|
motherboard while they still have the original BIOS present.
|
|
|
|
<div class="specs">
|
|
<center>
|
|
<img tabindex=1 alt="D945GCLF" class="p" src="https://av.canoeboot.org/d945gclf/d945gclf.jpg" /><span class="f"><img src="https://av.canoeboot.org/d945gclf/d945gclf.jpg" /></span>
|
|
</center>
|
|
|
|
| ***Specifications*** | |
|
|
|----------------------------|------------------------------------------------|
|
|
| **Manufacturer** | Intel |
|
|
| **Name** | D945GCLF/D945GCLF2D |
|
|
| **Released** | 2008 |
|
|
| **Chipset** | Intel Calistoga 945GC |
|
|
| **CPU** | Intel Atom |
|
|
| **Graphics** | ? |
|
|
| **Display** | None. |
|
|
| **Memory** | Up to 2GB |
|
|
| **Architecture** | x86\_64 |
|
|
| **Original boot firmware** | Intel BIOS |
|
|
| **Intel ME/AMD PSP** | Not present. |
|
|
| **Flash chip** | SOIC-8 512KiB |
|
|
|
|
```
|
|
W+: Works without vendor firmware;
|
|
N: Doesn't work;
|
|
W*: Works with vendor firmware;
|
|
U: Untested;
|
|
P+: Partially works;
|
|
P*: Partially works with vendor firmware
|
|
```
|
|
|
|
| ***Features*** | | Notes |
|
|
|----------------|---------------------------------------|-------|
|
|
| **Internal flashing with original boot firmware** | N | |
|
|
| **Display** | - | |
|
|
| **Audio** | W+ | |
|
|
| **RAM Init** | W+ | |
|
|
| **External output** | W+ | |
|
|
| **Display brightness** | - | |
|
|
|
|
| ***Payloads supported*** | |
|
|
|---------------------------|--------------|
|
|
| **GRUB** | Doesn't work |
|
|
| **SeaBIOS** | Works |
|
|
| **SeaBIOS with GRUB** | Doesn't work |
|
|
</div>
|
|
|
|
Open source BIOS/UEFI firmware
|
|
------------------------------
|
|
|
|
This document will teach you how to install Canoeboot, on your
|
|
Intel D945GCLF and/or D945GCLF2 desktop motherboard.
|
|
Canoeboot is a [Free Software](https://writefreesoftware.org/learn) project
|
|
that replaces proprietary BIOS/UEFI firmware.
|
|
|
|
If you just want flashing instructions, go to
|
|
[../install/d945gclf.md](../install/d945gclf.md)
|
|
|
|
D945GCLF2D also reported working by a user.
|
|
|
|
Introduction
|
|
------------
|
|
|
|
This board is a mini-itx desktop board for 2008. It uses an atom 230,
|
|
which is a singe core CPU but it is hyperthreaded so it appears to have
|
|
2 thread to the OS. The flash chip is very small, 512KiB, so grub2 does
|
|
not fit, which is why Canoeboot has to use seabios on this target. Full
|
|
disk encryption like on other supported targets will not be possible, so
|
|
plan accordingly.
|
|
|
|
This board has a 945gc chipset which is the desktop equivalent of 945gm
|
|
which can be found in the Lenovo x60/t60 or macbook2,1. This chipset
|
|
features an ICH7 southbridge. It has 1 DIMM slot that can accommodate up
|
|
to 2G of DDR2 RAM.
|
|
|
|
Connectivity-wise it has 1 PCI slot, a 10/100 ethernet port, 4 usb slot
|
|
and 4 usb ports, with one internal header and 2 SATA ports.
|
|
|
|
The D945GCLF2 is an upgraded version of this board. The differences are:
|
|
1 more USB header, 10/100/1000 ethernet and a dual core cpu (also
|
|
hyperthreaded). Since the board is almost identical (and coreboot code
|
|
seem to indicate that it works, since MAX\_CPU=4 is set), it is believed
|
|
that it should also work but this is untested.
|
|
|
|
### Remarks about vendor bios:
|
|
|
|
- Without Canoeboot or Libreboot this board is completely useless, since the
|
|
vendor bios is very bad. It cannot boot from any HDD whether it is
|
|
connected to the SATA port or USB. With Canoeboot it works just
|
|
fine.
|
|
|
|
- The vendor bios write protects the flash so it requires external
|
|
flashing to install Canoeboot on this device. Once Canoeboot is
|
|
flashed there is no problem to update the firmware internally
|
|
|
|
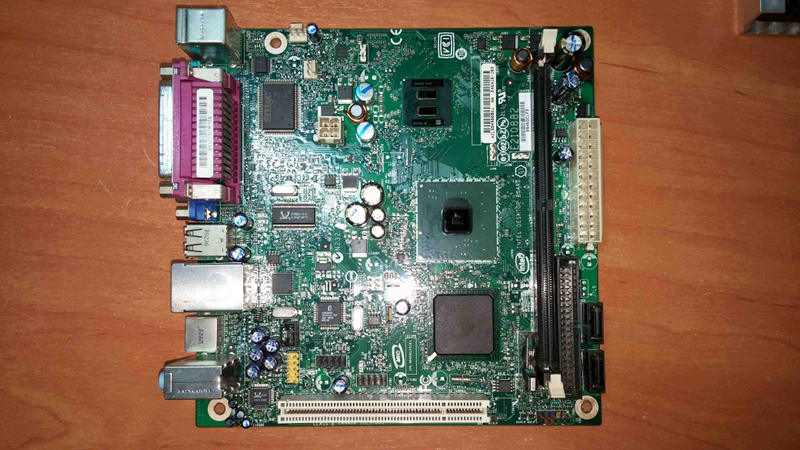
Here is an image of the board:\
|
|
\
|
|
Here is an image of the D945GCLF2 board:\
|
|
{width="80%" height="80%"}\
|
|
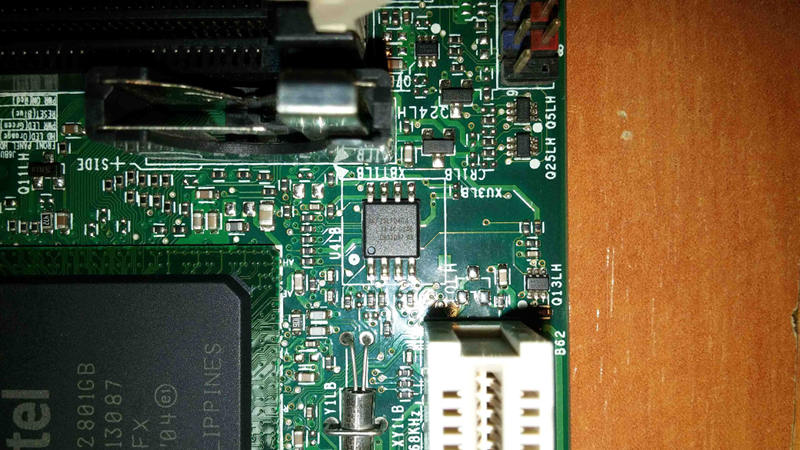
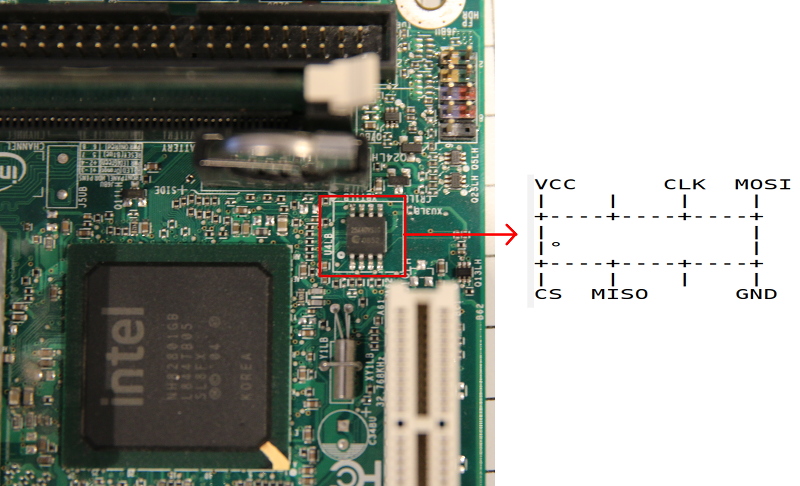
And SPI SOIC8 flash chip\
|
|
{width="50%" height="50%"}
|
|
|
|
Flashing instructions {#clip}
|
|
-----------------------------
|
|
|
|
Refer to [spi.md](spi.md) for how to re-flash externally.
|
|
|
|
Here is an image of the flash chip:\
|
|
|
|
|
|
### How to replace thermal paste and fan
|
|
|
|
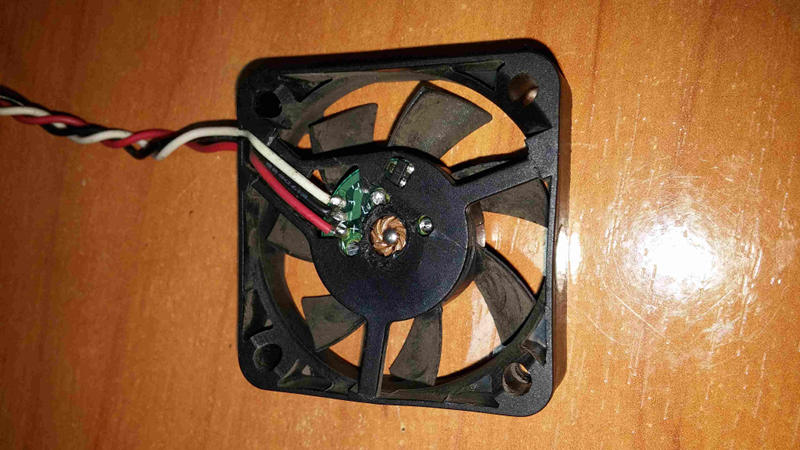
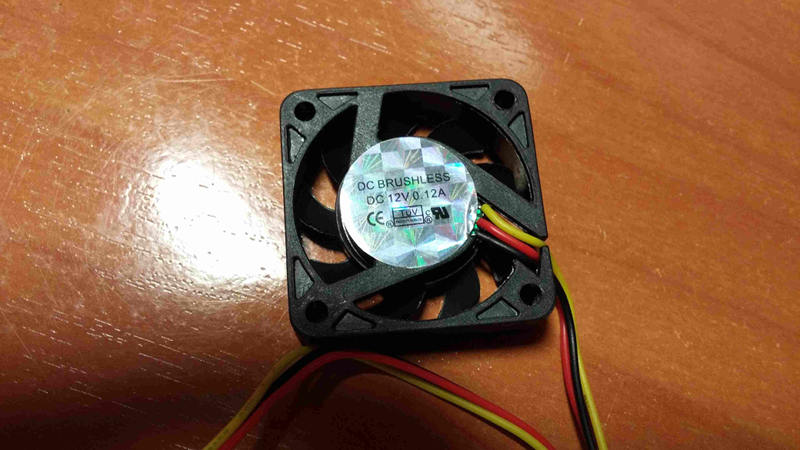
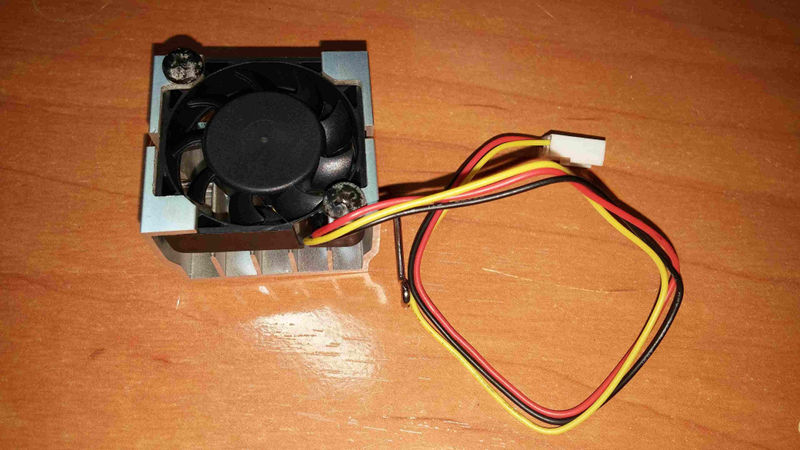
This board comes with very crappy disposable loud fan, that one has no
|
|
bearings, which can not be repaired or oiled properly, do not waste your
|
|
time trying to fix it, just buy one chinese same size fan\
|
|
{width="50%" height="50%"}
|
|
{width="50%" height="50%"}\
|
|
Make sure that new one has same wiring\
|
|
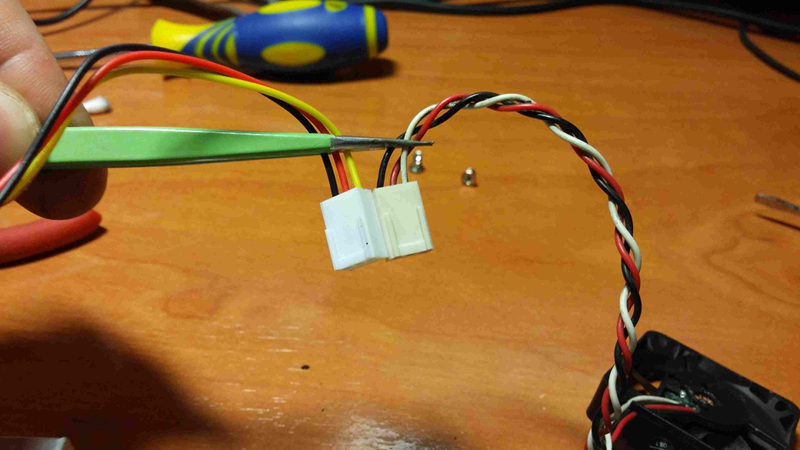{width="50%" height="50%"}\
|
|
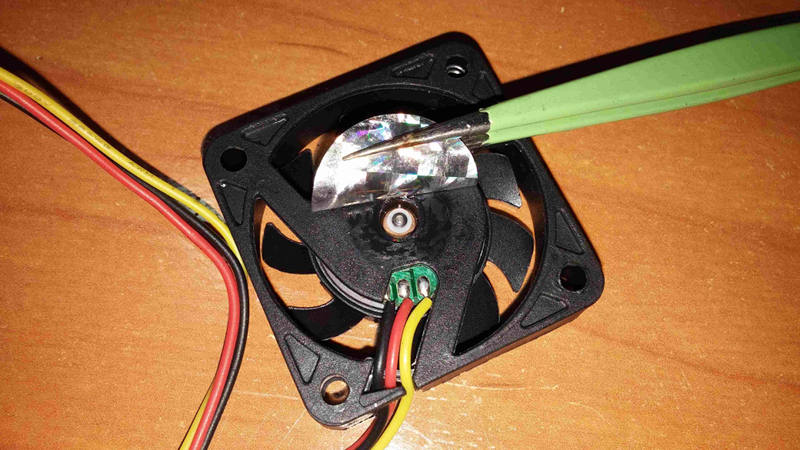
This is a new one, with bearing and maintenable\
|
|
{width="50%" height="50%"}
|
|
{width="50%" height="50%"}\
|
|
Now remove the both coolers rotating them a bit, slowly, then clean both
|
|
silicons and both coolers (removing cmos battery first is recommended)\
|
|
{width="50%" height="50%"}\
|
|
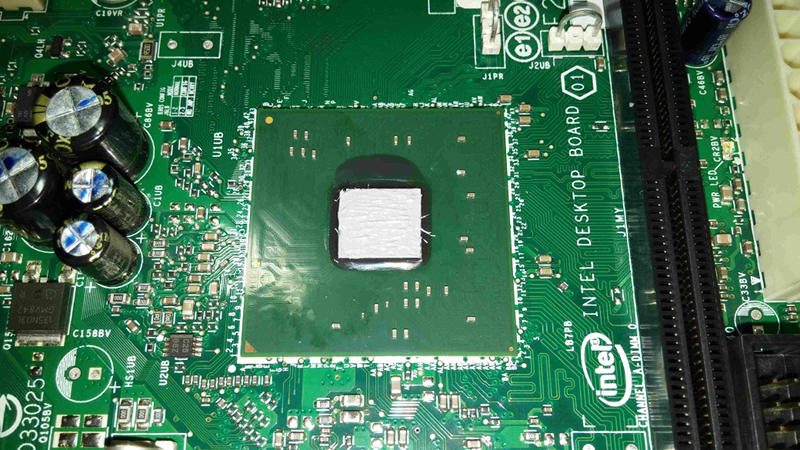
Put a little bit of non conductive thermal paste on both silicons (only
|
|
cpu silicon iis shown on that image)\
|
|
{width="50%" height="50%"}\
|
|
|
|
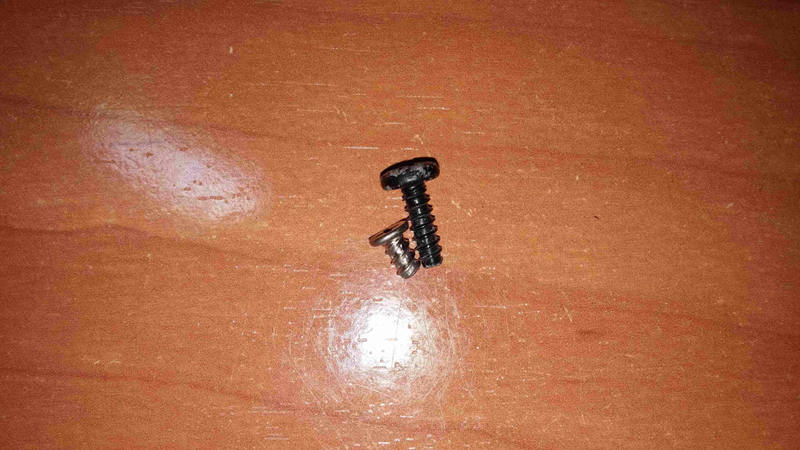
Before assembling new fan, some need new longer screws, make sure having
|
|
these (on the left is original one, too short for new fan)\
|
|
{width="50%" height="50%"}\
|
|
After that, assemble your new fan into CPU cooler\
|
|
{width="50%" height="50%"}\
|
|
Finally assemle both coolers on both chips, do not forget put in the CPU
|
|
fan connector back, and you are done.
|