5.9 KiB
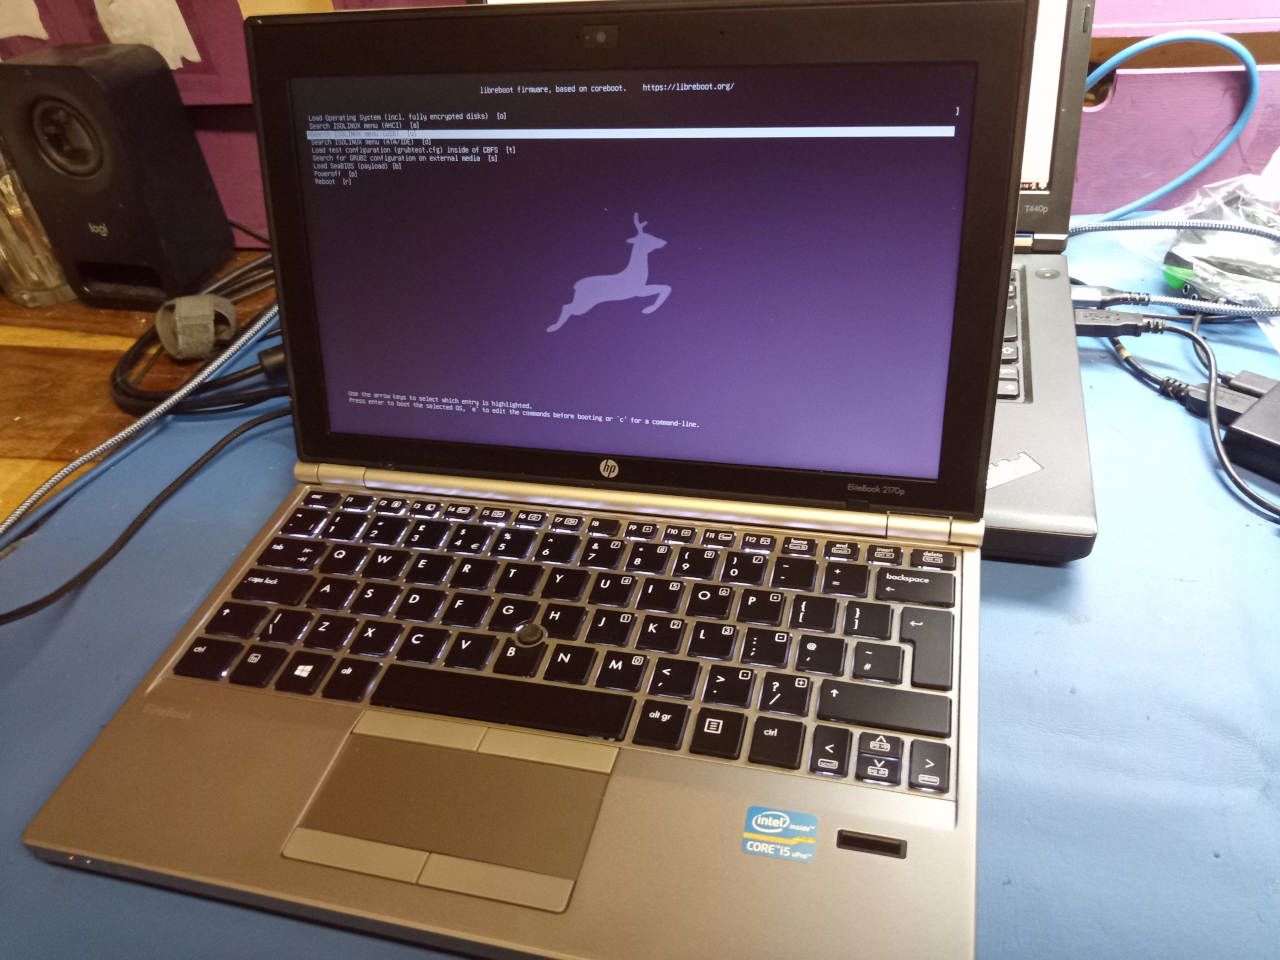
The build target, when building from source, is thus:
./mk -b coreboot hp2170p_16mb
Installation
Insert binary files
If you're using a release ROM, please ensure that you've inserted extra firmware required refer to the guide for that. (failure to adhere to this advice will result in a bricked machine)
Set MAC address
This platform uses an Intel Flash Descriptor, and defines an Intel GbE NVM region. As such, release/build ROMs will contain the same MAC address. To change the MAC address, please read nvmutil documentation.
Flash a ROM image (software)
If you're already running Libreboot, and you don't have flash protection turned on, internal flashing is possible.
Flash a ROM image (hardware)
REMOVE all power sources like battery, charger and so on, before doing this. This is to prevent short circuiting and power surges while flashing; although the flash is socketed, hot-swapping is generally a bad practise and must be avoided.
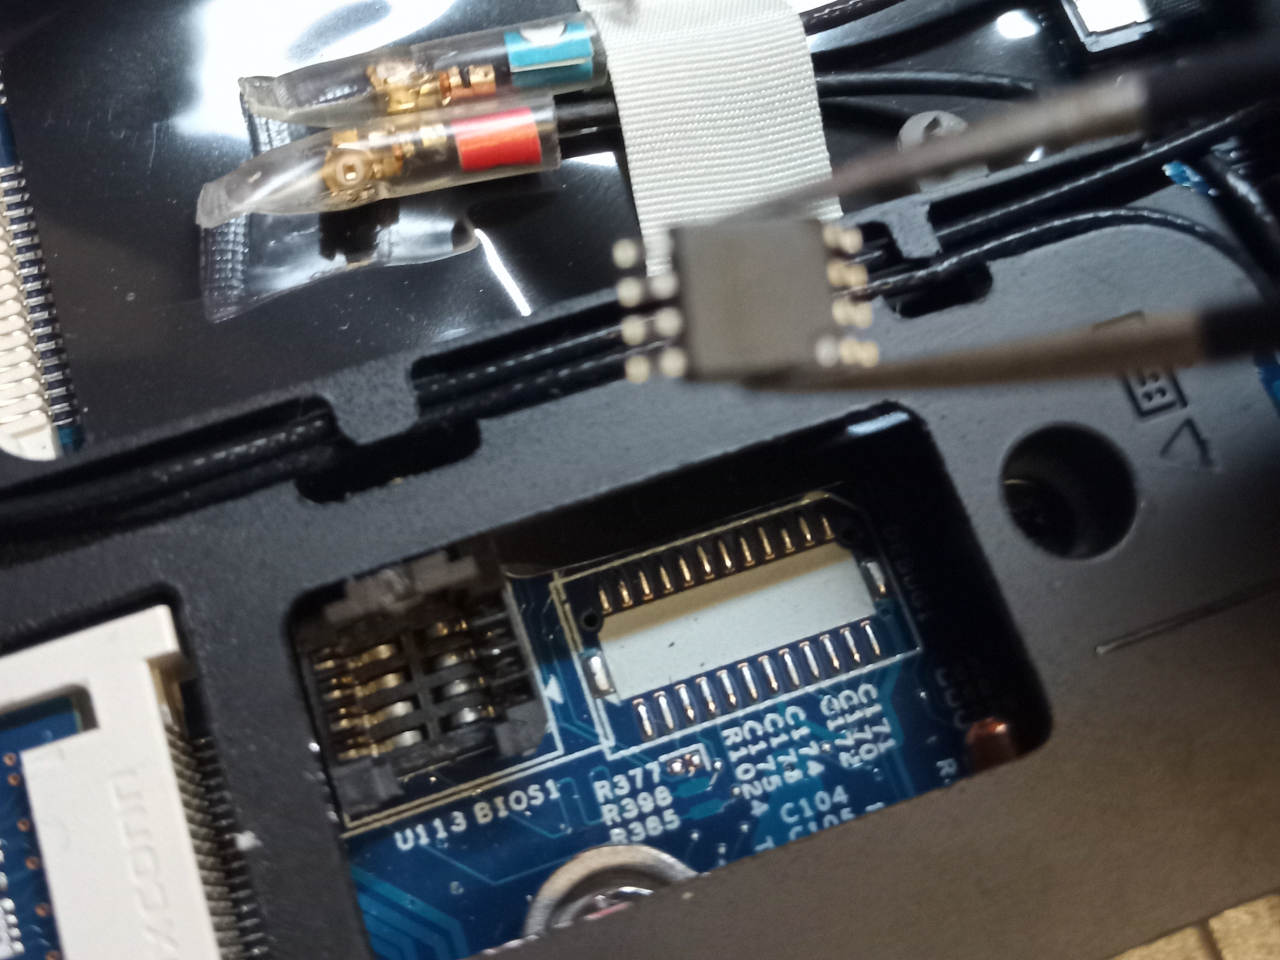
Otherwise, external flashing is simple, but quite different from most laptops! The flash is a SOIC8 IC like you'd expect, but it's in a socket.
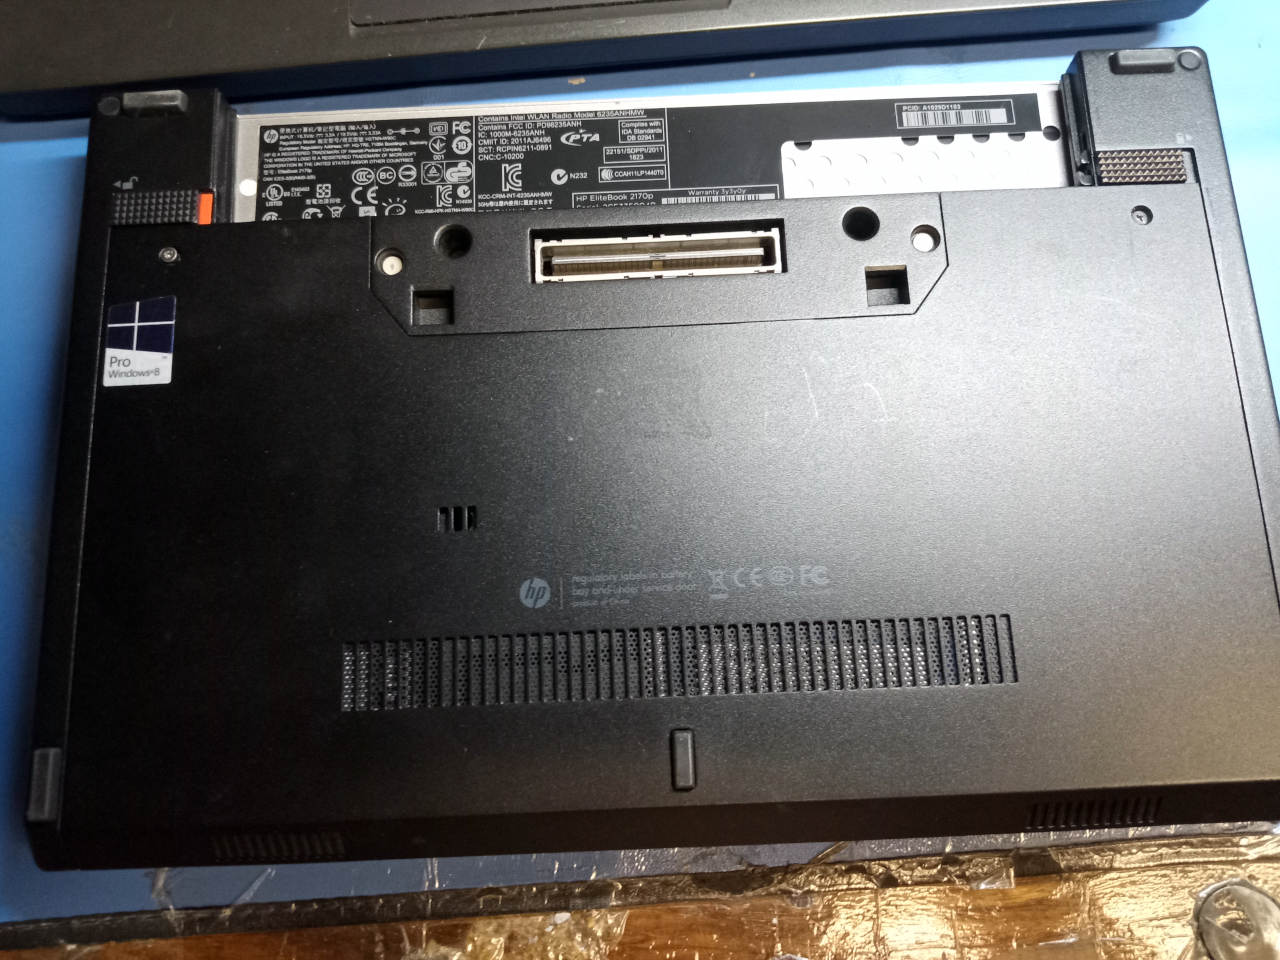
Remove those two screws and cover on the underside, and then the flash is in this socket which you can open:


For general information, please refer to 25xx NOR flash instructions - that page refers to use of socketed flash.
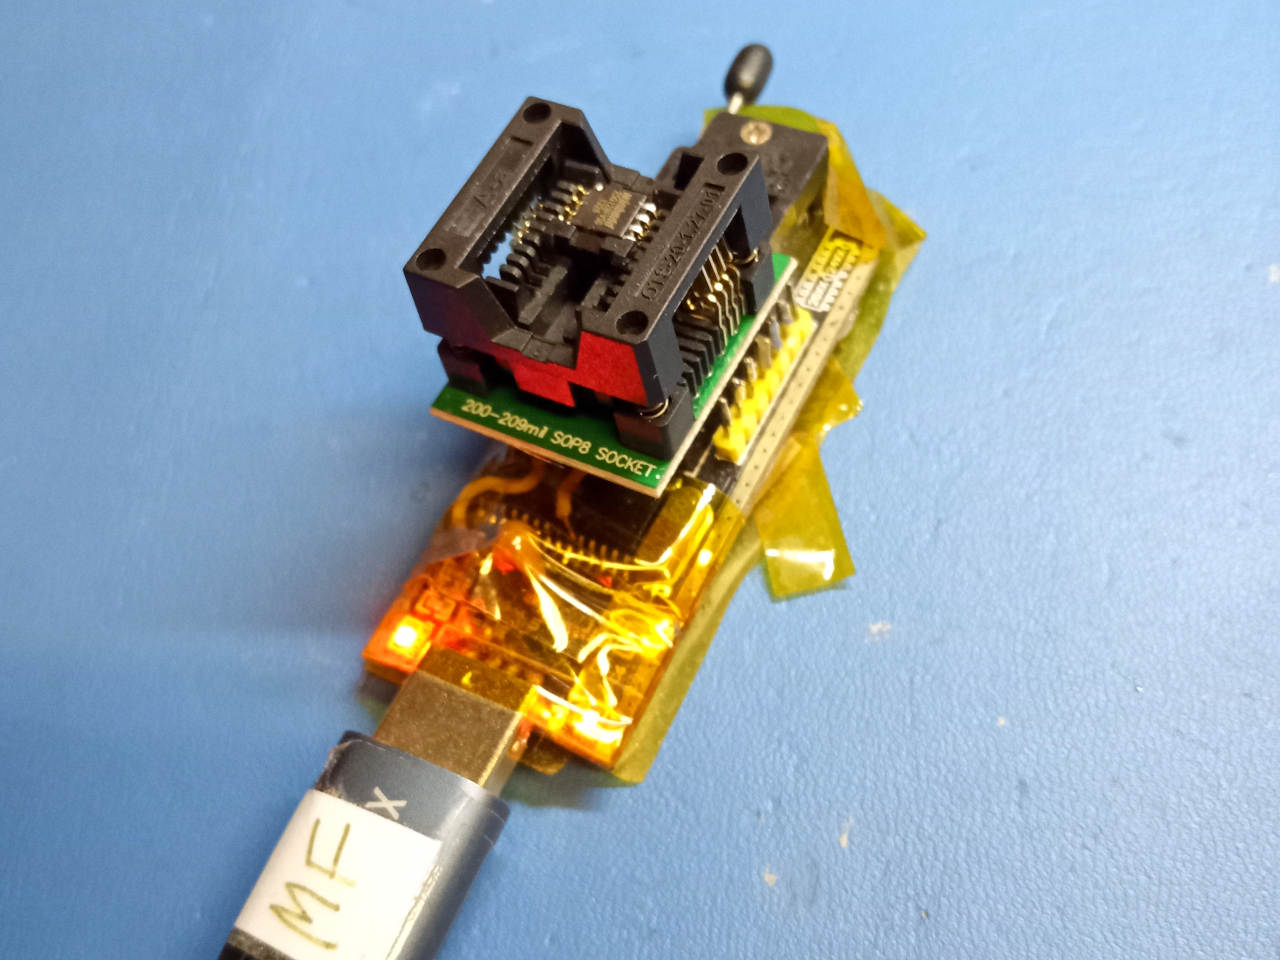
For this board, you can use a Raspberry Pi or similar flasher if you wish, wired to a spring socket adapter (SOP to DIP adapter) in a breadboard. In my case, I opted for use of a 3.3v-modded CH341A device.


Here, the flash is inserted into the SOP to DIP adapter, which is then put into the ZIF socket on the CH341a device. This is the black version which has 5V logic levels, but it can (read: MUST) be modified for correct 3.3v logic levels. The main 25xx flashing guide documents this; some other models may already be 3.3v, or have switchable logic levels like on some newer revisions of CH341A. Please ensure that you run it at the correct voltage.
